The Easiest No Knead Bread Yet!
/
We've got a good news/bad news kind of post today. So let's start with the good news, shall we? OK, the good news is sort of self-evident. Homemade bread coming out of your very own oven is now easier than it's ever been. I mean it's as easy as it's ever going to be until such time as they can figure out a dough that will form itself into loaves and hop into the oven on its own. Most definitely good news.
The bad news? Well, the bad news is only for those of you who have been ambivalent about making homemade bread and used the difficulty level as the reason to resist. This excuse will no longer be acceptable. Sorry. It looks like you're either going to have to pull out your flour bin or find a new excuse because the difficulty level here is way down in the easy category. Way down. For those who love homemade bread, but have no interest in making it yourself, then find a good friend or relative who likes to bake and maybe share this one with them because not only are we talking easy, but this is some good bread! Yes, we're calling it delicious.
So how easy it it? Well, if you can stir or mix a batter, then you can make this bread. But before we talk about just dumping everything in the bowl and mixing, I thought we'd have a short chat about the best way to measure ingredients (for any kind of baking). The good news is that the best most precise way to measure is also the easiest and least messy. Yay!! I love using a kitchen scale which means I don't have to dirty measuring cups and spoons and there's no wondering if you've measured correctly. The scale does all of the work for you. If you haven't used one before, this is how it works...
You're just going to place your bowl on the scale, press the "tare" button and that will zero out the weight. Now you can add your flour..

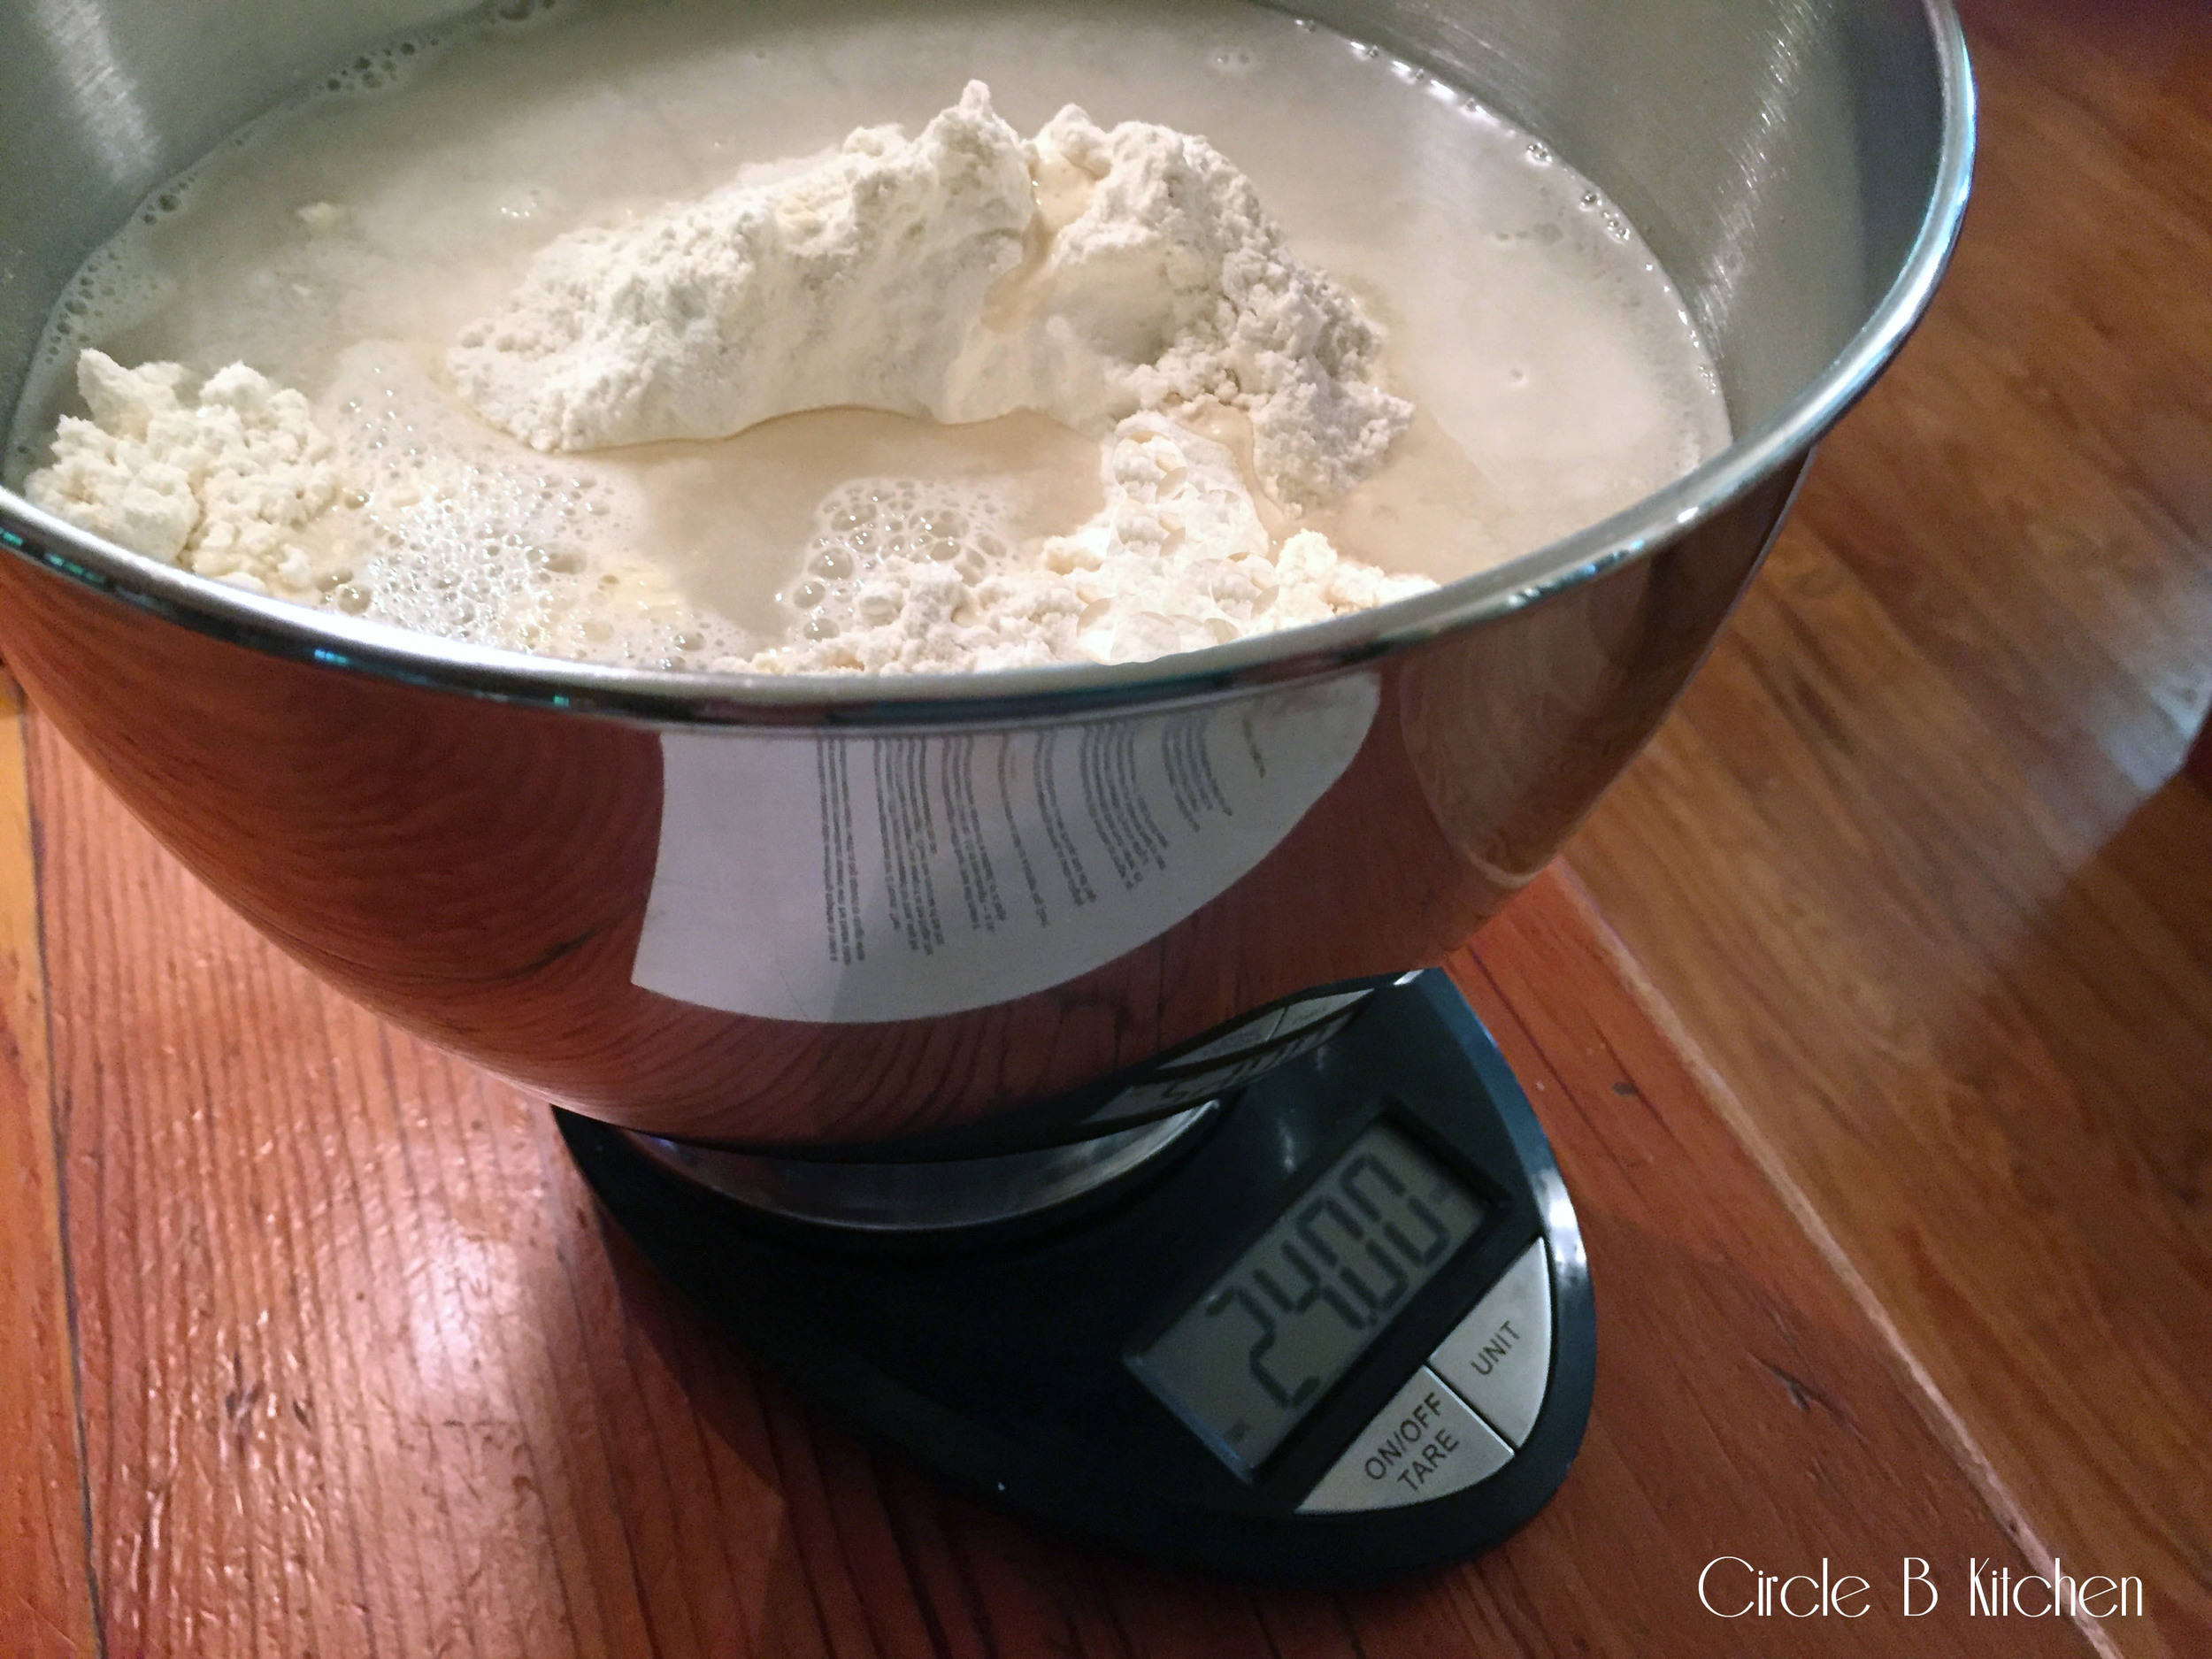
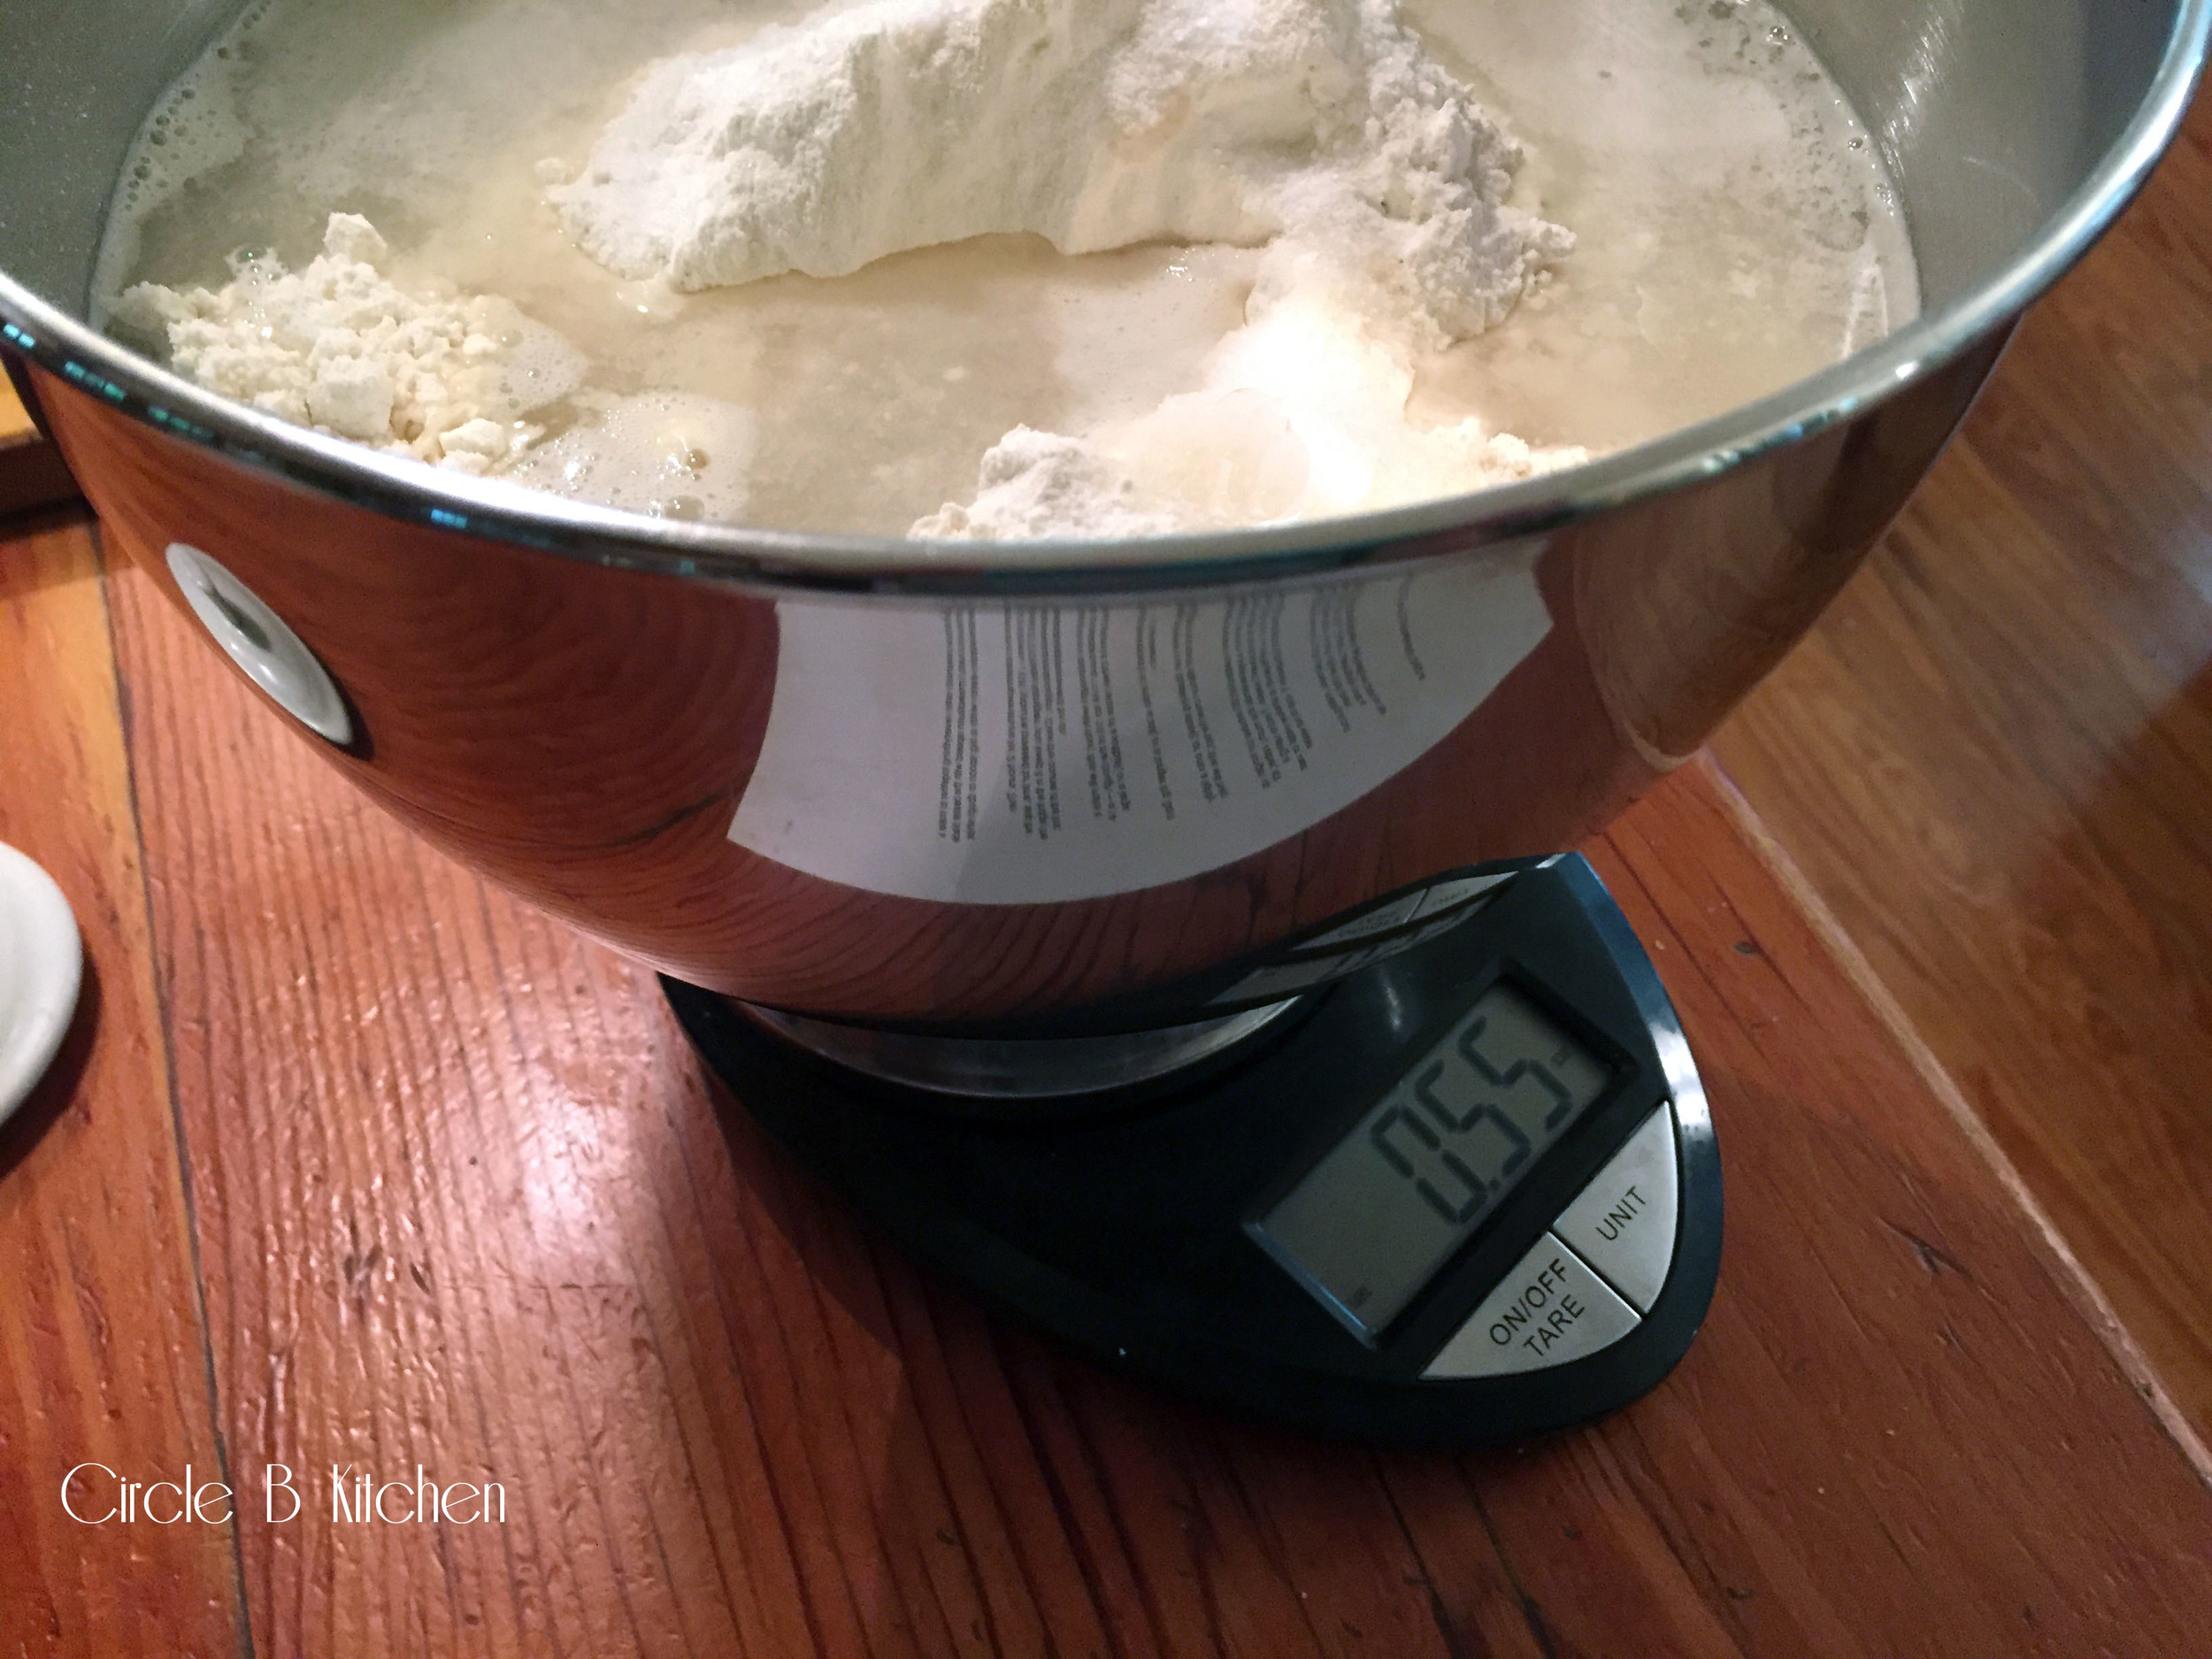
After adding the flour (32 oz in this case), just press "tare" again which will zero out the weight, add water (24 oz) and then hit the "tare" button again. Continue this process adding the salt and the yeast and then you'll have all of your ingredients precisely measured and there will be only one bowl to wash! Don't you love it? The problem is that there aren't too many recipes which give you measurements by weight as opposed to volume, but there are lots of apps and websites that will do that for you. I love the "kitchen scale" app. It will convert measurements from volume to weight and vice versa - super easy to use!
So once you've got your ingredients all measured, you're just going to get them all mixed and then let your dough rise for an hour or two (or not) and then stick it in the fridge. When you're ready to make a loaf of bread, grab a hunk, plop it on your baking sheet, let it rise and bake. OK, there are a few more little things to do in there, but that really is pretty much it.
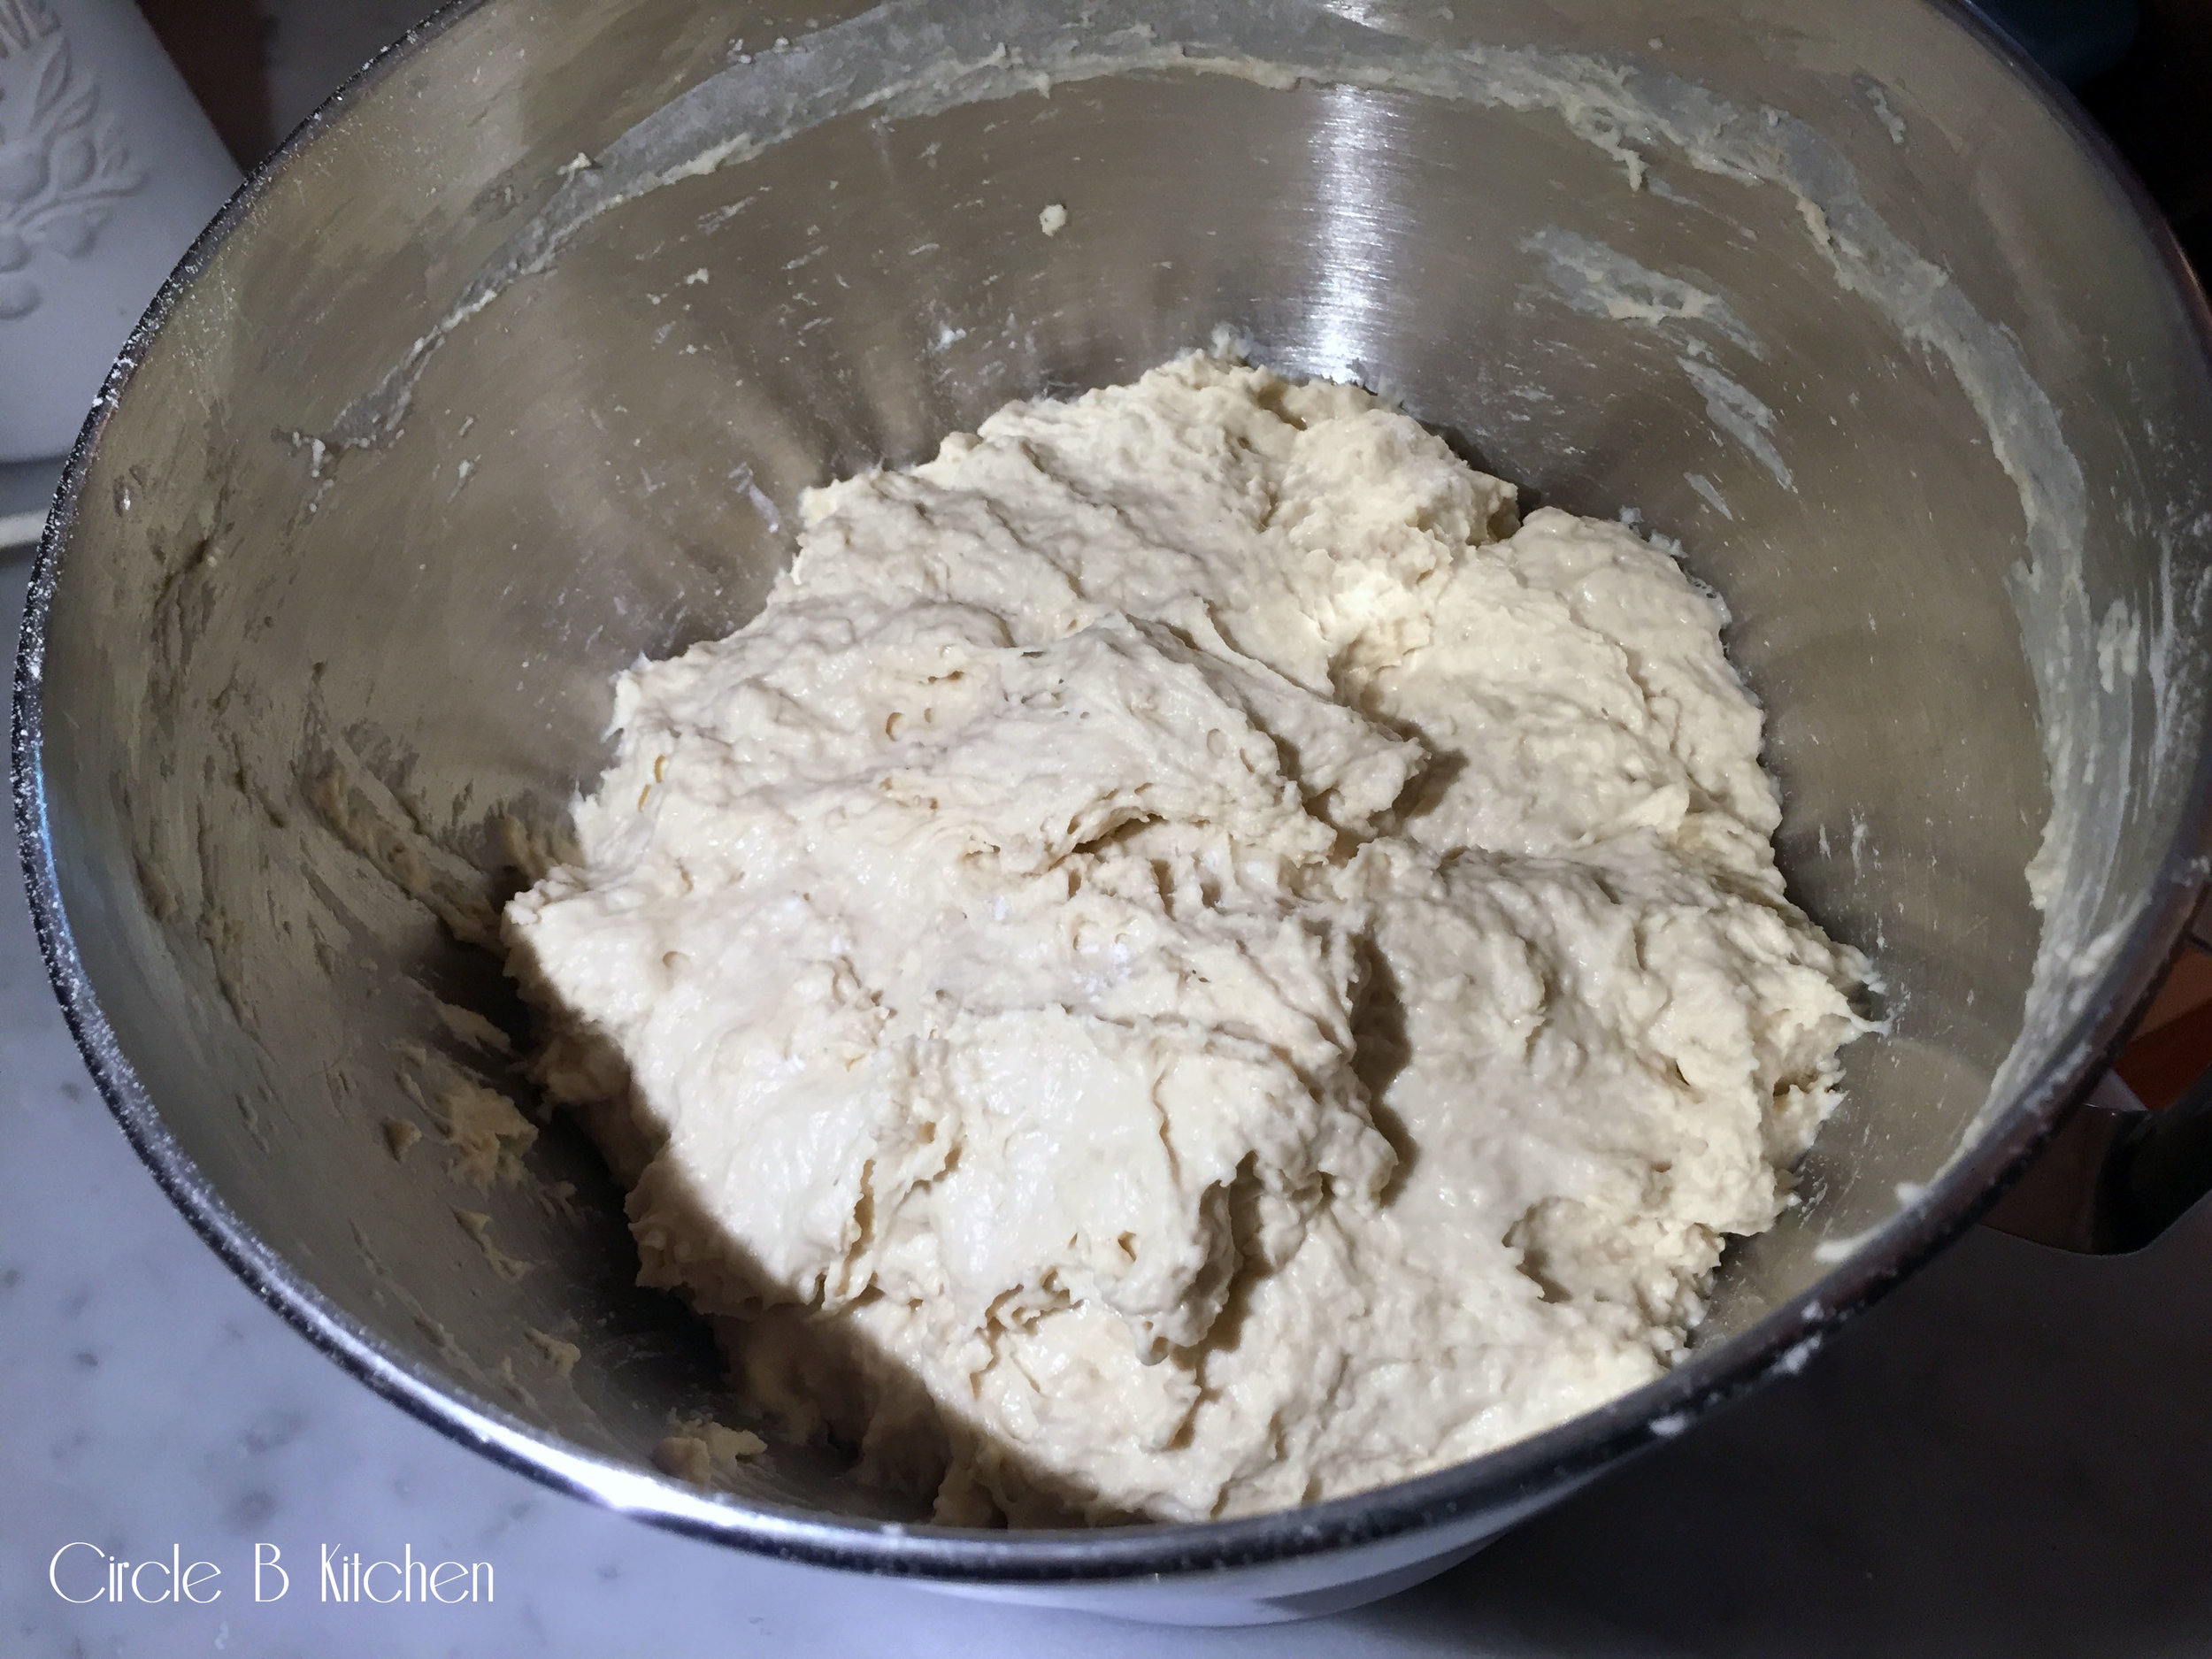
As you can see from that very dull photo there on the left, this is a fairly wet dough. But no worries, cuz you're not going to have to knead it! Yay!

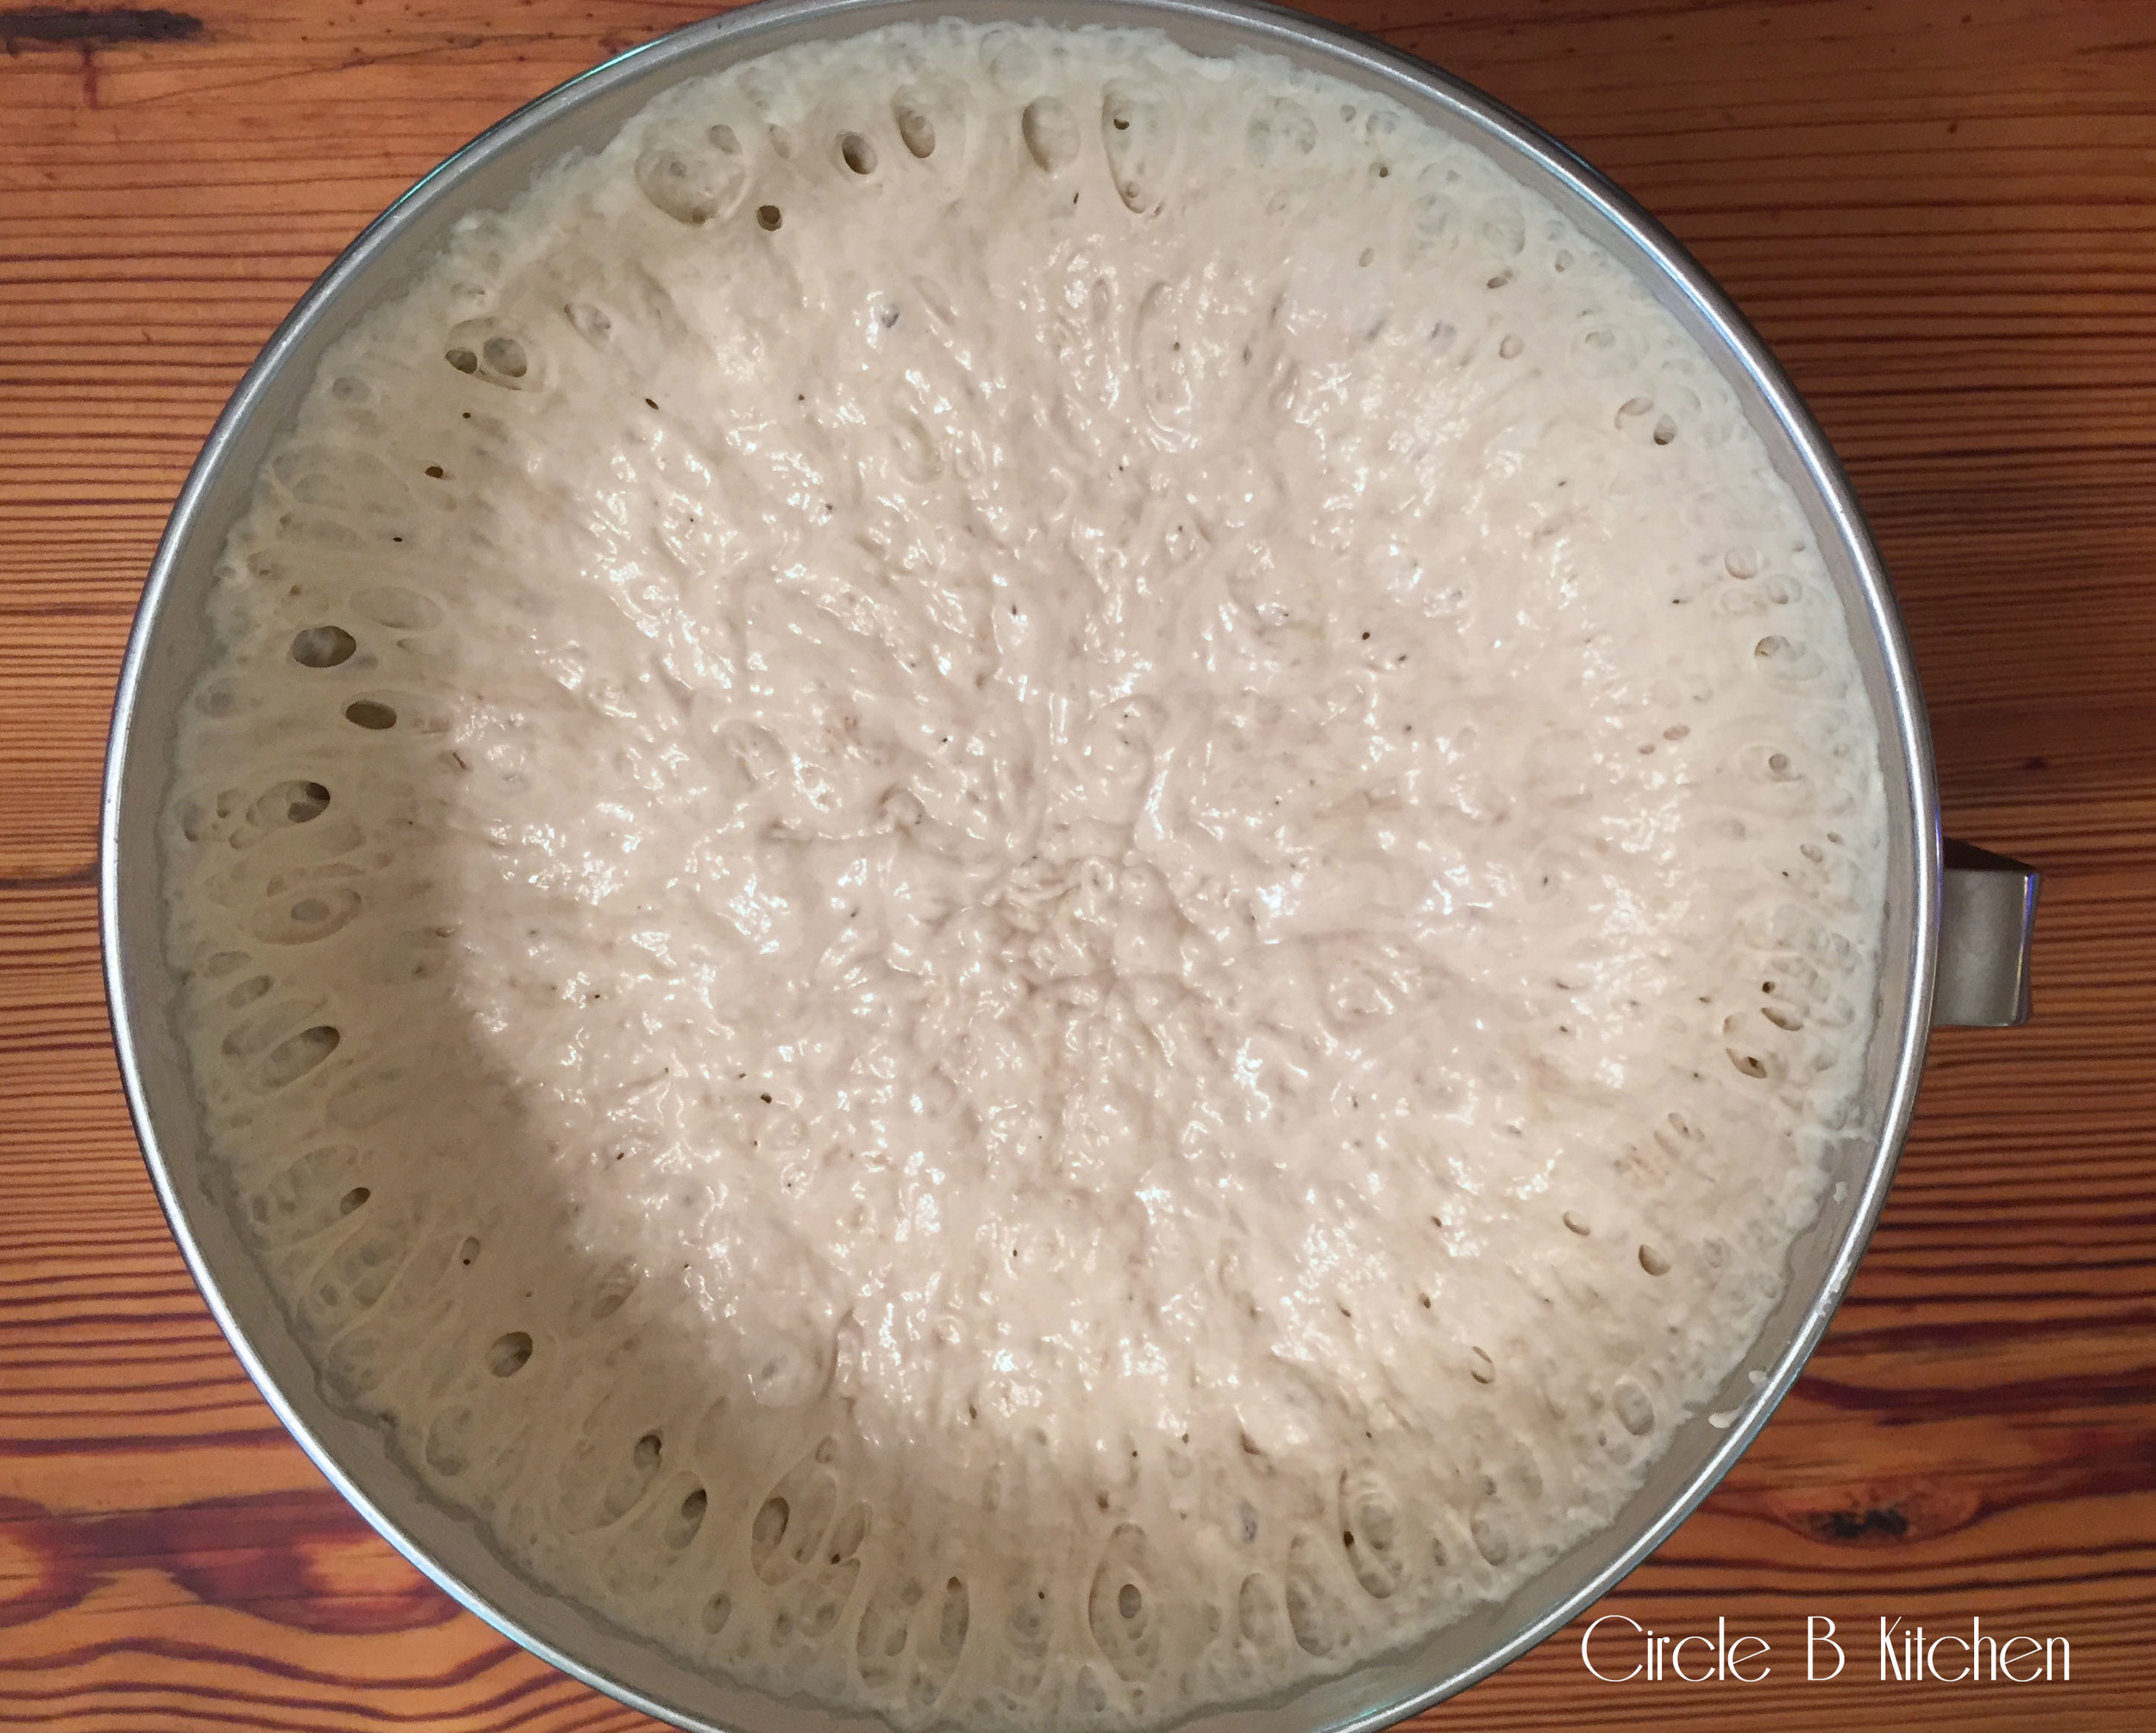
After the dough sits out for an hour or so, it will look like that photo on the left. That's when you can just stick it in the fridge and leave it. I mean, really, just leave it. I've left it for 10 days and made beautiful bread with it. When you remove it from the fridge, it will look like the photo on the right. See those gluten strands? Cool, huh? And you didn't even knead.
Depending on how many loaves of bread you would like to make (this recipe makes 3 nice-sized loaves), get some flour on your hands and grab a hunk of dough, about 1/3 if you want to just make 1 loaf. Then form it into a ball or a baguette shape by rolling or patting or whatever method suits your style. No need for precision here. Then sprinkle them with a little flour...


Since this is a rather wet dough, the loaves will tend to spread outward as they rise, which is fine for the loaf on the left. I sort of wanted my baguette-shaped loaf to rise up rather than out, so here's a nifty little trick to take care of that problem...


Place a rolled-up towel on each side of the dough under the parchment paper. This will provide a little support on the sides and your loaf won't be quite as eager to flatten as it rises.
For the round loaf, I found that placing a large glass bowl over the loaf as it was rising kept it from drying out and produced a really nice crust after it baked.
Let your dough rise for at least 2 hours, but I found that there are times when it needed close to 3 hours. This will depend on your room temperature. The original recipe from King Arthur said to let it rise 1 hour, but my first loaf was way under-proofed at that point. After your dough has risen, use a very sharp knife or razor blade to slash the dough. You'll do better than I did here...


It doesn't actually matter what your loaves look like before they go in the oven because they will come out looking delicious.
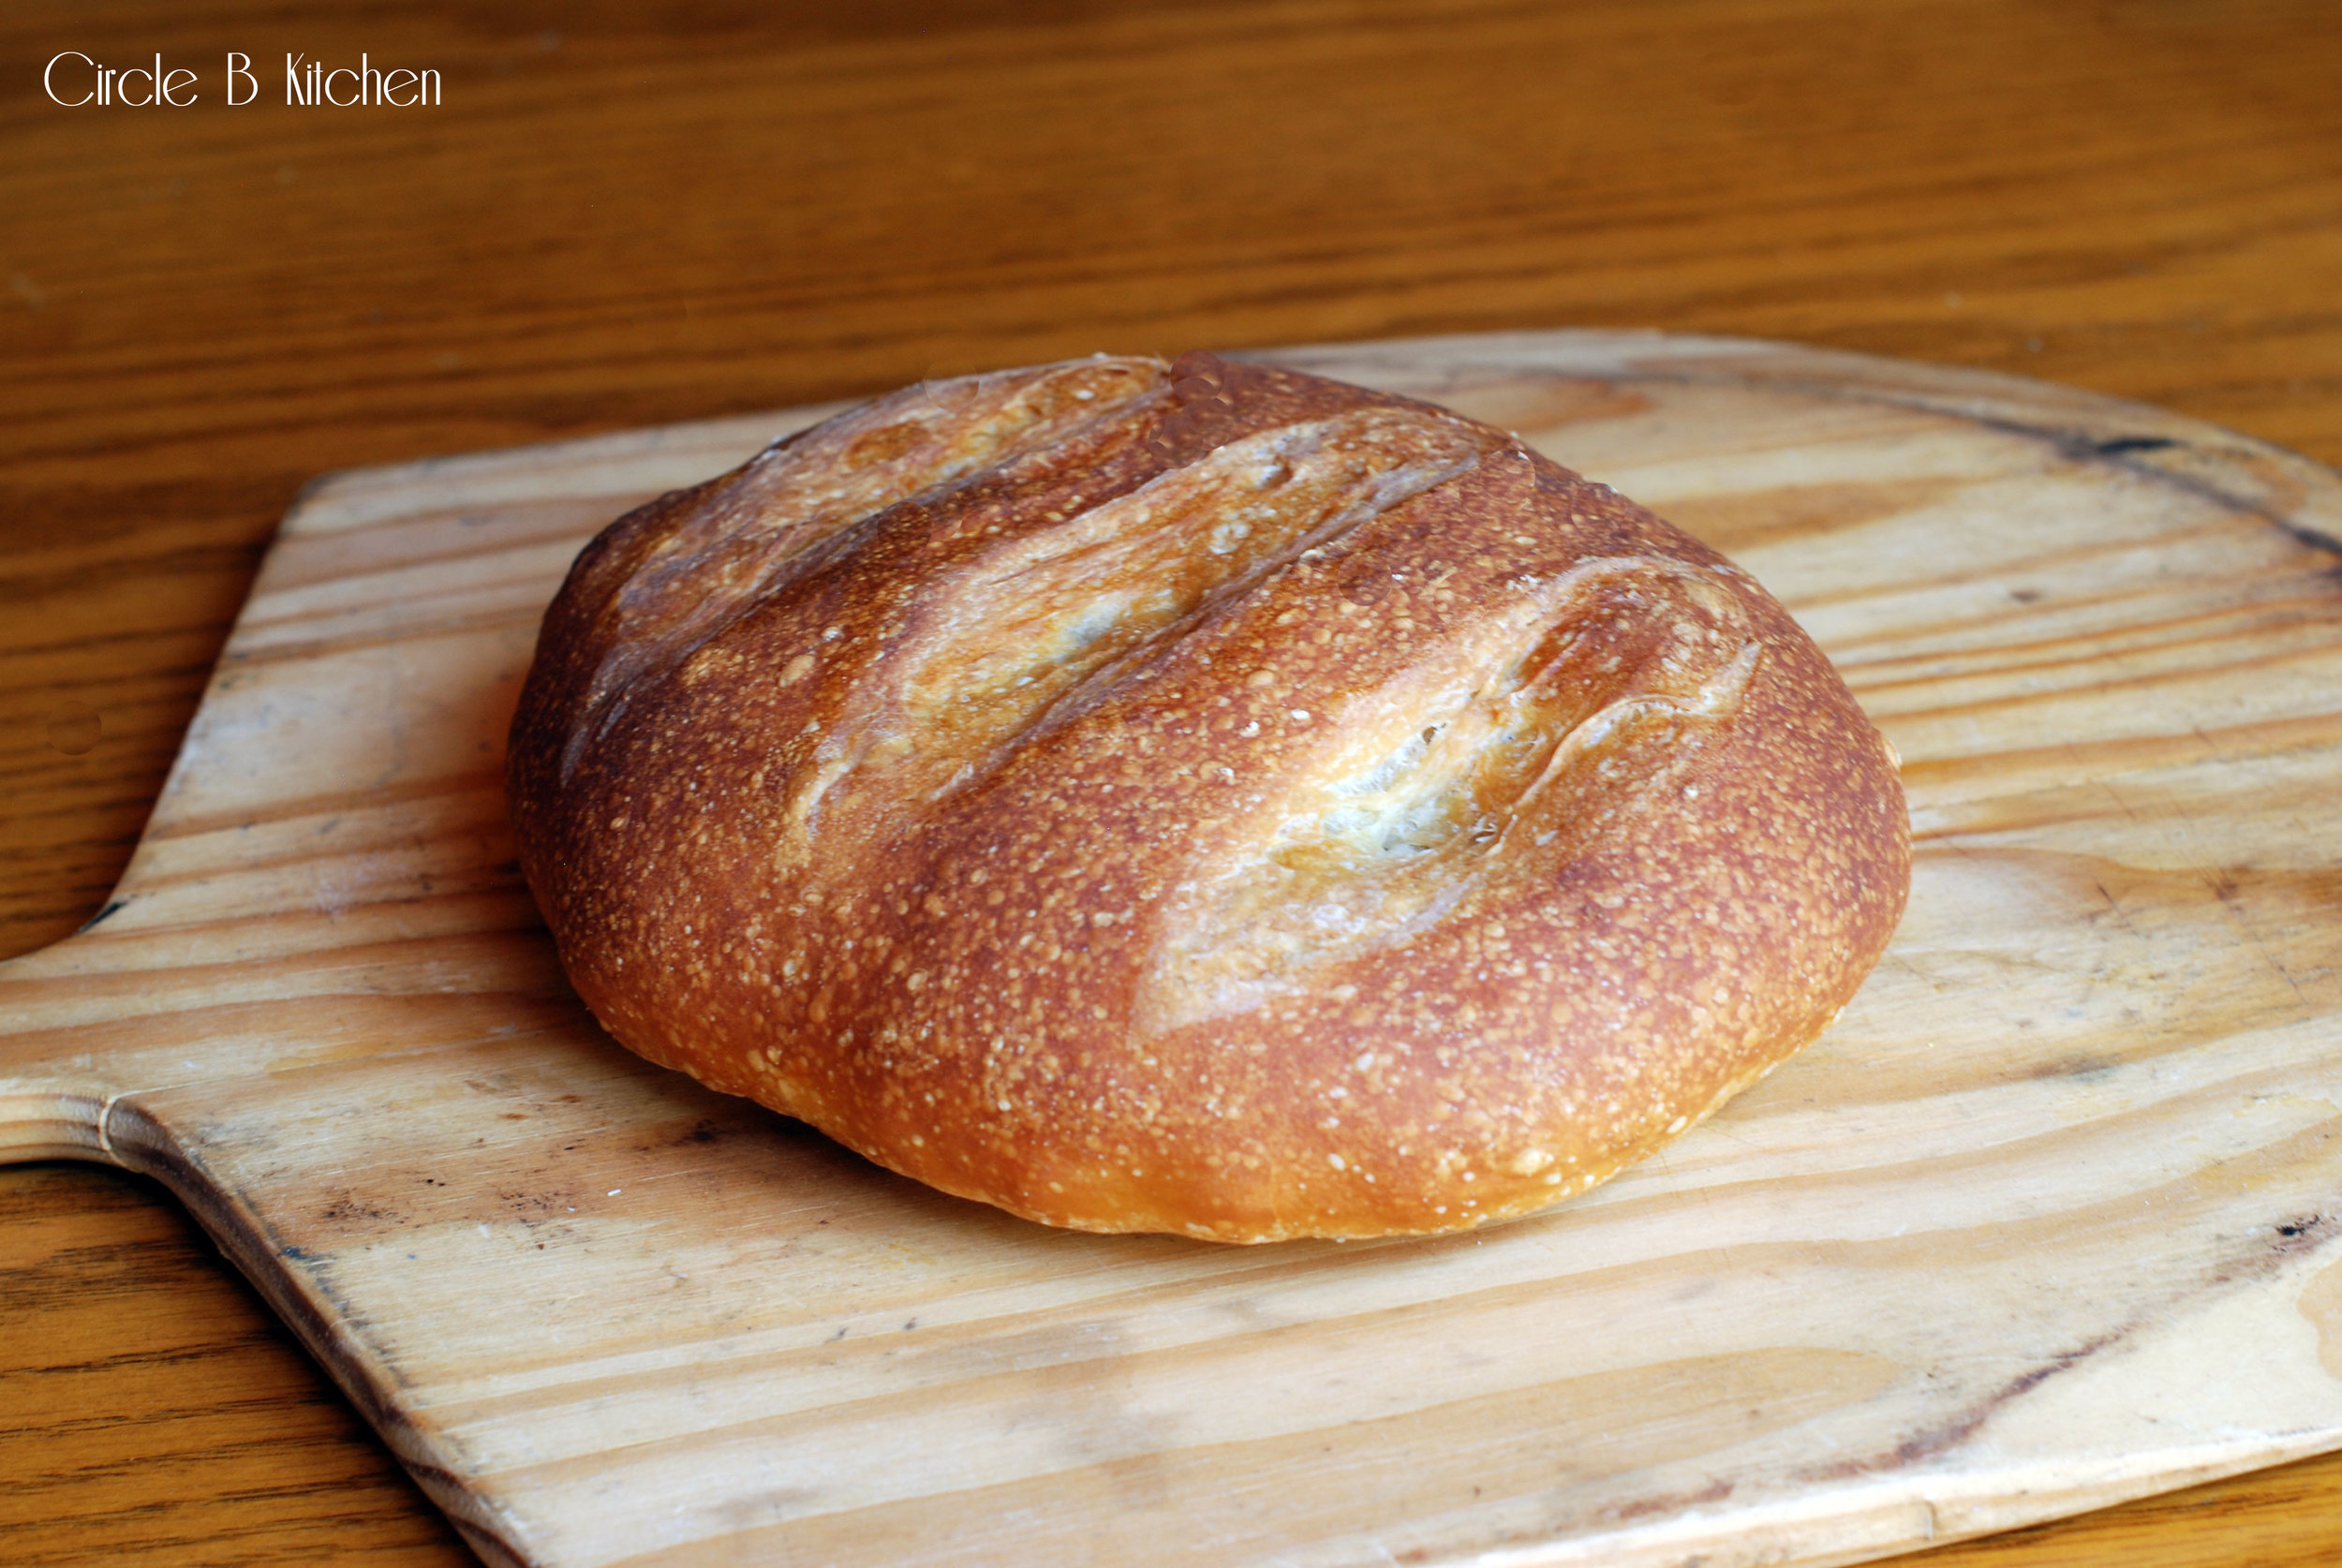

And they'll taste even better...
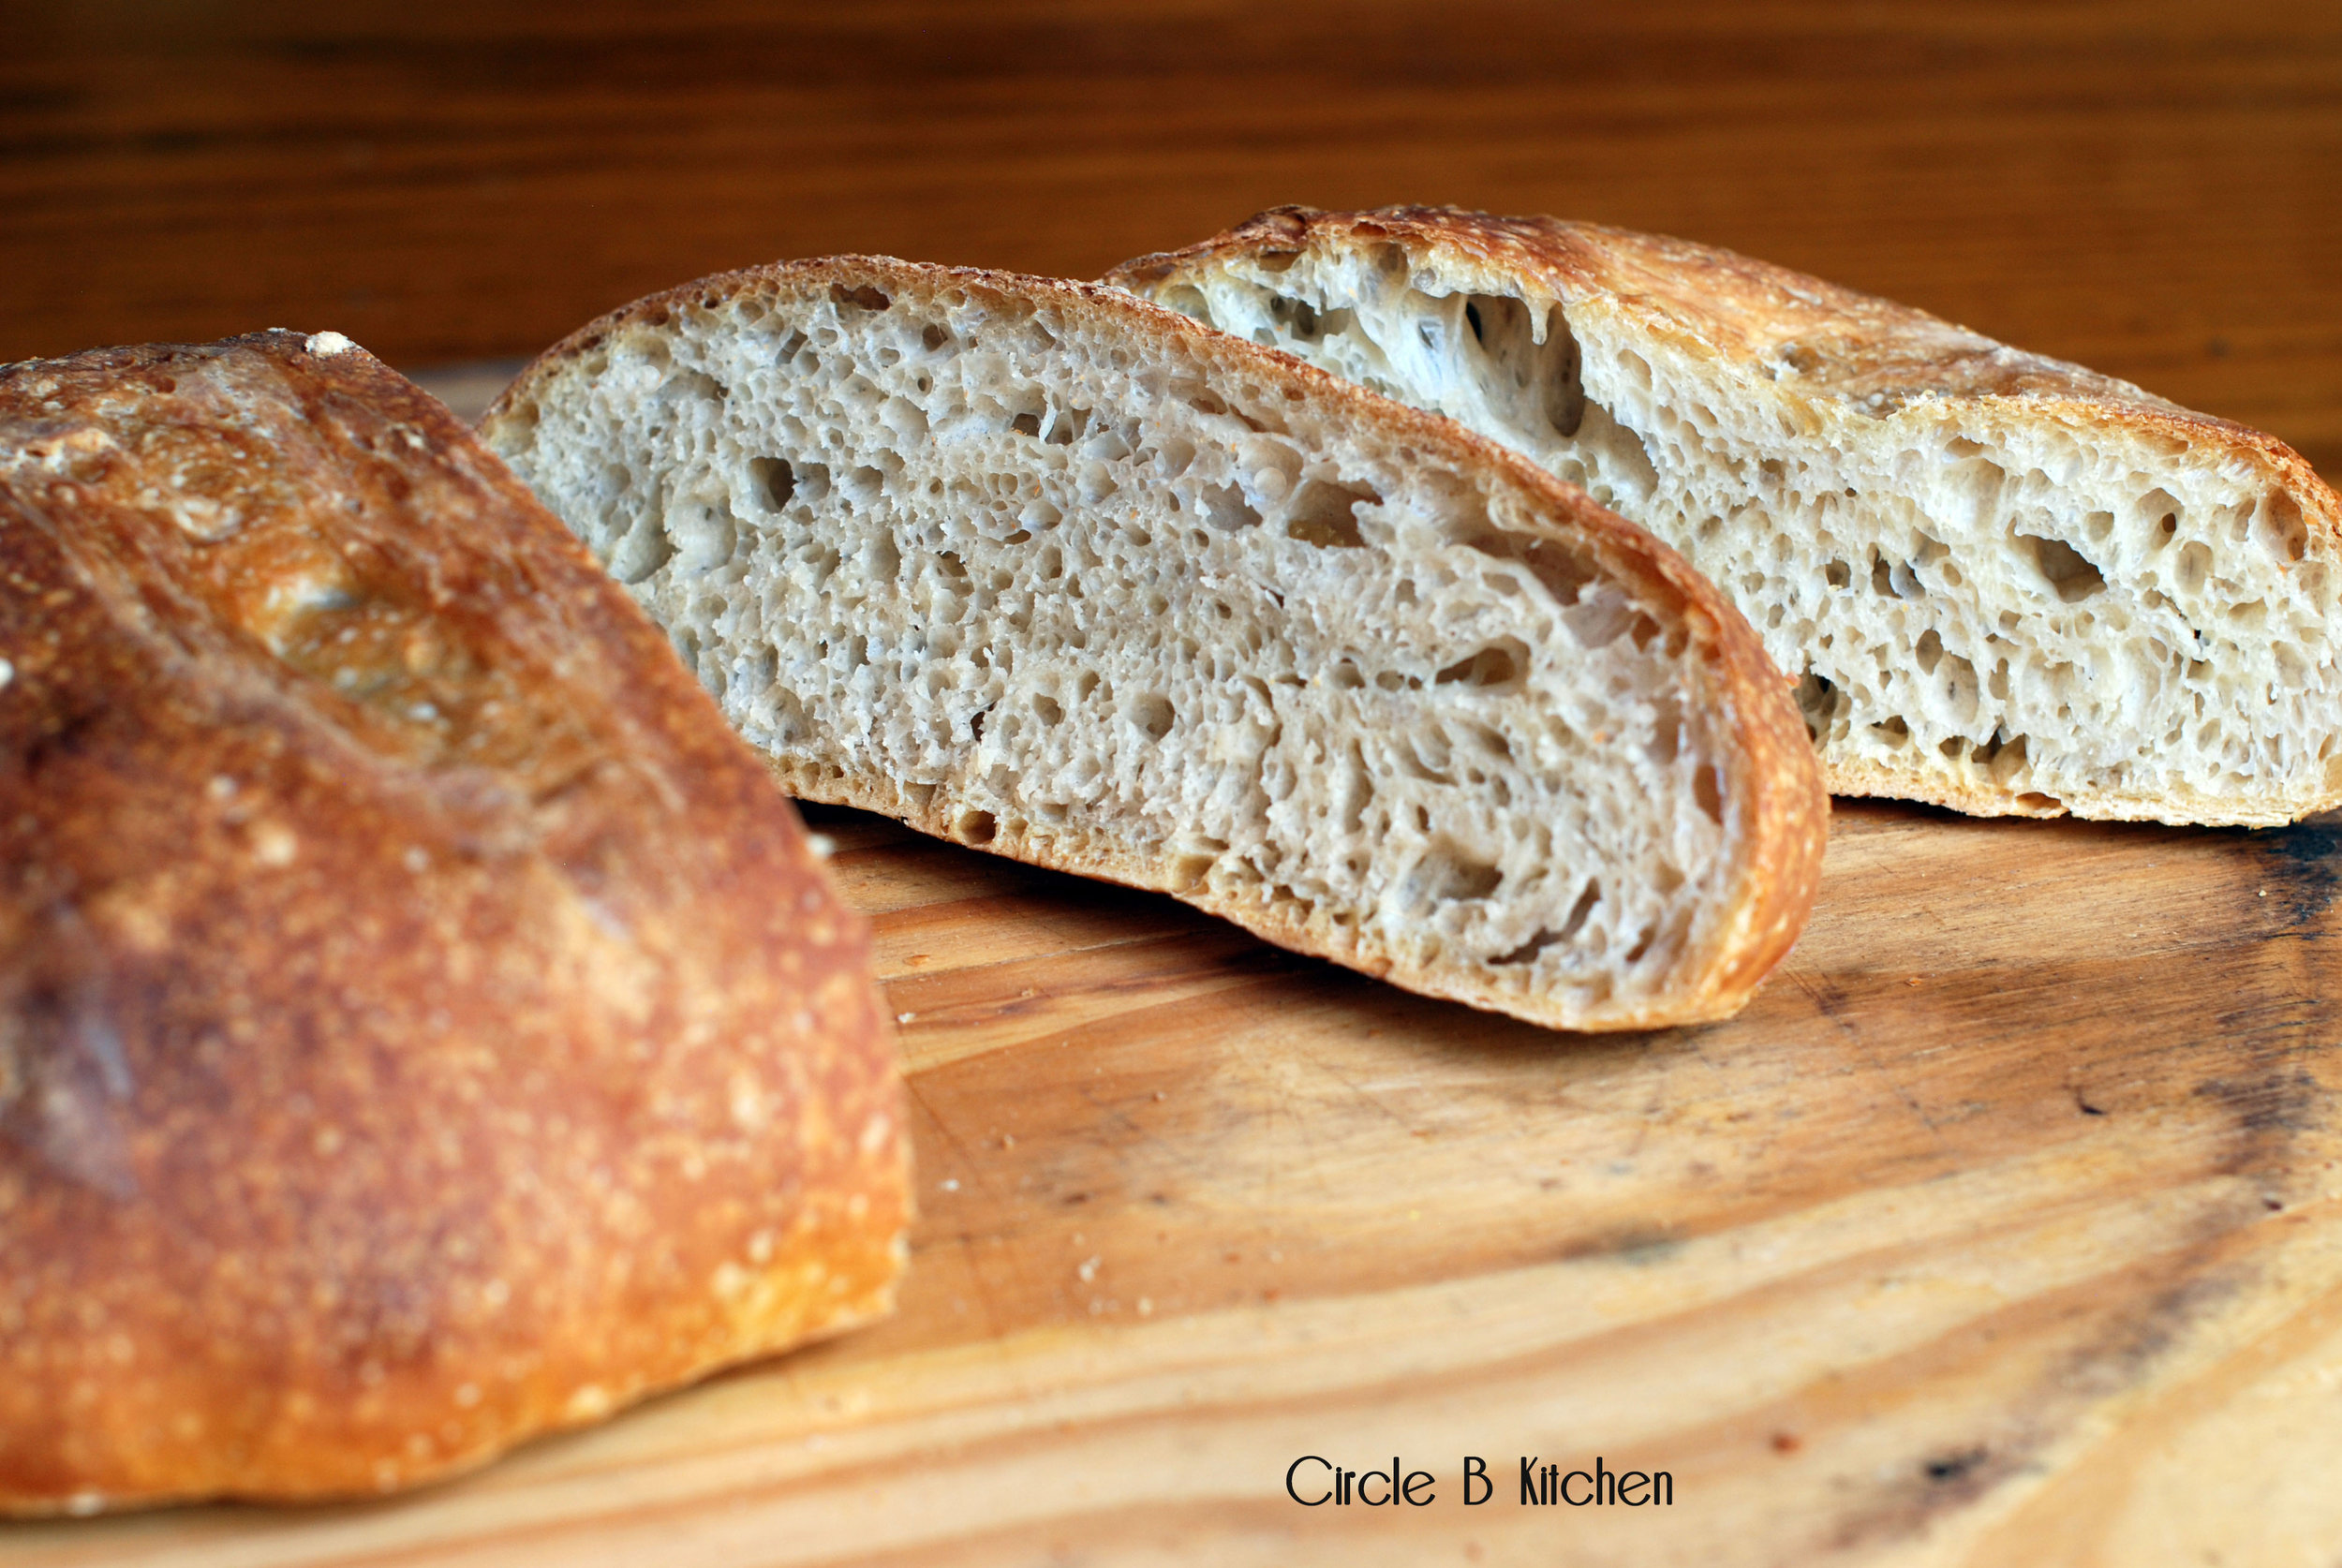
I love it when my bread produces large holes like that. It means that it had plenty of time to rise and baked all the way through in the oven. Don't be tempted to take your bread out of the oven too soon. Let it go until the crust is as dark as you can stand it.
So there you have it, a perfectly lovely loaf of bread just waiting for you to slather it with butter or make yourself the perfect sandwich. But just don't say it's too difficult. That train's left the station. Here's the recipe...
The Easiest No-Knead Bread Yet!
Recipe adapted from King Arthur Flour
Click here for a printable recipe
This really is perhaps the easiest way to make beautiful homemade bread yet. Make a batch of dough and stick it in the fridge for a few days. When you're ready to make a loaf or two, just grab as much dough as you want and leave the rest to continue to ferment in the refrigerator. The longer it sits, the more flavor it develops! I haven't taken this any longer than 10 days, so beyond that, I'm not sure how the dough will hold up. I suggest you use a scale to measure your ingredients which makes the measuring much more precise (and easier too!).
If measuring by volume:
3 cups water (see note below)
7 cups all purpose flour
1 tablespoon salt
1 1/2 tablespoons instant or active dry yeast
If using a scale:
24 ounces water (see note below)
32 ounces all-purpose flour
1/2 ounce salt
1/2 ounce instant or active dry yeast
Note: If using active dry yeast, use lukewarm water; if using instant yeast, use room temperature water
Directions (they might seem lengthy, but every step is super easy!)
Combine all of the ingredients in a large mixing bowl. Mix and stir everything together to make a very sticky, rough dough. If you have a stand mixer, beat at medium speed with the beater blade for 30 to 60 seconds. If you don't have a mixer, just stir-stir-stir with a big spoon or dough whisk until everything is combined.
Cover the bowl, and let the dough rise at room temperature for 2 hours. Then refrigerate it for at least 2 hours, or for up to about 7 days. (If you're pressed for time, skip the room-temperature rise, and stick it right into the fridge). The longer you keep it in the fridge, the tangier it'll get; if you chill it for 7 days, it will taste like sourdough. Over the course of the first day or so, it'll rise, then fall. That's OK; that's what it's supposed to do.
When you're ready to make bread, sprinkle the top of the dough with flour; this will make it easier to grab a hunk. Grease your hands, and pull off about 1/4 to 1/3 of the dough — a 14-ounce to 19-ounce piece, if you have a scale. It'll be about the size of a softball, or a large grapefruit.
Plop the sticky dough onto a floured work surface, and round it into a ball, or a longer log. Don't fuss around trying to make it perfect; just do the best you can. (see note below)
Place the loaf on a piece of parchment (if you're going to use a baking stone); or onto a lightly greased or parchment-lined baking sheet. Sift a light coating of flour over the top; this will help keep the bread moist as it rests before baking.
Let the loaf warm to room temperature and rise; this should take at least 60 minutes (or longer, up to a couple of hours, if your house is cool - it took a full 2 hours for mine to come to room temperature and then I let it go another 30 minutes to finish rising). It won't appear to rise upwards that much; rather, it'll seem to settle and expand (see note below).
Preheat your oven to 450°F while the loaf rests. If you're using a baking stone, position it on a middle rack while the oven preheats. Place a shallow metal or cast iron pan (not glass, Pyrex, or ceramic) on the lowest oven rack, and have 1 cup of hot water ready to go. (If I'm just baking one loaf, I turn my cast iron pan upside down in the oven and bake on that._
When you're ready to bake, take a sharp knife and slash the bread 2 or 3 times, making a cut about 1/2" deep. The bread may deflate a bit; that's OK, it'll pick right up in the hot oven.
Place the bread in the oven — onto the baking stone, if you're using one, or simply onto a middle rack, if it's on a pan — and carefully pour the 1 cup hot water into the shallow pan on the rack beneath. It'll bubble and steam; close the oven door quickly.
Bake the bread for 25 to 35 minutes, until it's a deep, golden brown. (It took mine closer to 45 minutes to cook in my conventional oven)
Remove the bread from the oven, and cool it on a rack. Store leftover bread in a plastic bag at room temperature.
Note: If making a baguette, you can help it keep its shape while rising by placing a rolled towel under the parchment paper on each side of the baguette. You can refer to the blog post for a pictorial description of this.