The Why and How of Caramelized Onions
/
What could possibly be more fun than a spring head cold that leaves you either stuffy and congested and curious as to how this whole breathing thing is going to work itself out, or otherwise needing to just strap the Kleenex box around your neck? This is not actually a rhetorical question. Cynical, yes. But the answer is that, in fact, the real fun didn’t set in until I was completely deprived of the ability to smell and taste. Well, to clarify, I could smell and taste, just not accurately. Not even close. And to let you in on the devastating truth of this situation, I was the only person within a 3-mile radius who could not smell these onions caramelizing.

This is when it’s good to have an active imagination and the helpful feedback from those whose olfactory nerves are still in working order. Of course I’ve made caramelized onions many times in the past and knew they smelled way better than what my nose had to say about it, but it was still so sad to miss out on what could arguably be one of the most awesome aromas one might generate from their stovetop.
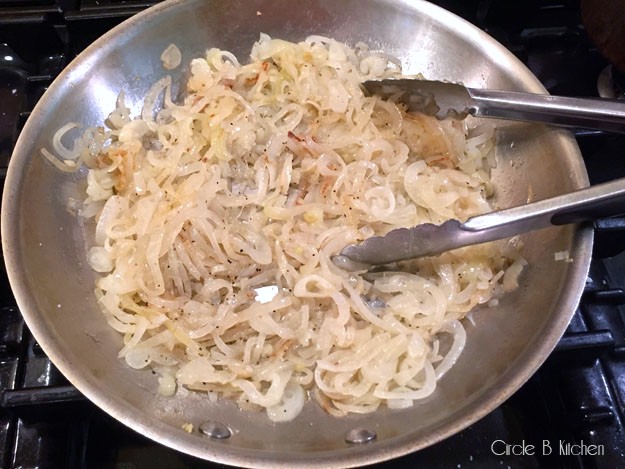
Be that as it may, I was actually mostly focused on the method at hand, which I came across on the Serious Eats website. They suggested that you could improve the caramelization process by steaming the onions first, and boy howdy, if they weren’t dead on right. By covering the onions for the first 15 minutes, and letting them steam and sweat out their natural juices, they actually caramelized more easily and quickly. I’m not sure it cut down on the overall time, but I think it significantly cut down on the amount of time that you are required to spend watching and stirring and babysitting.
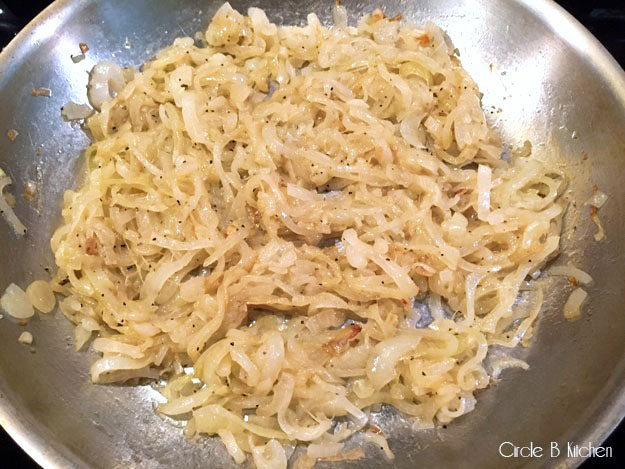
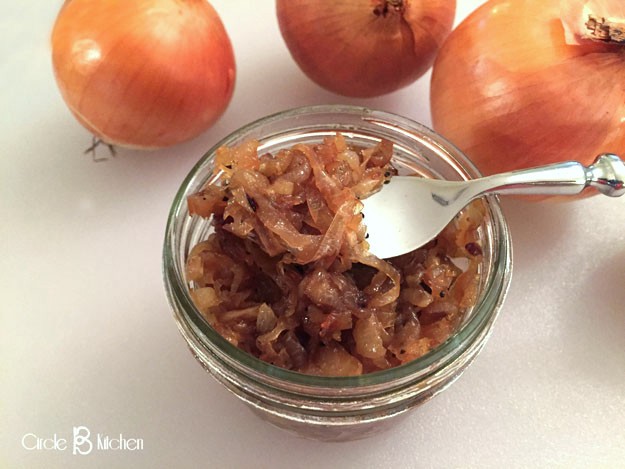
But this all begs the question… why? Why slice up all of these onions and spend all of this time stirring and tending, only to end up with this little mass of brown bits at the bottom of the pan? Again, not a rhetorical question. The answer is simply that not only do they smell incredibly wondrous as they’re cooking, but in the end, the complex sweetness and depth of flavor will make you wonder if these were ever actually onions to begin with because they are something entirely different now.
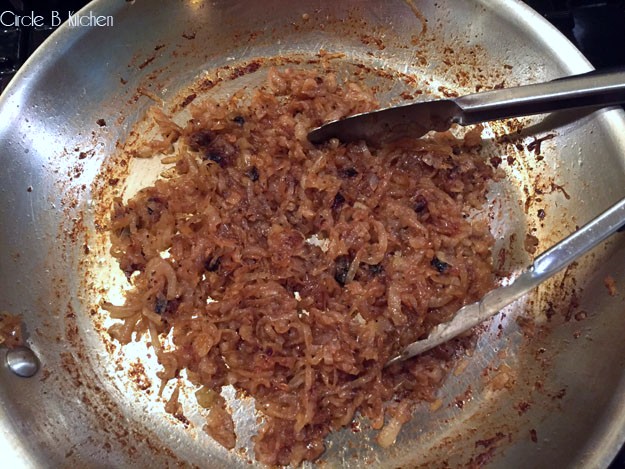
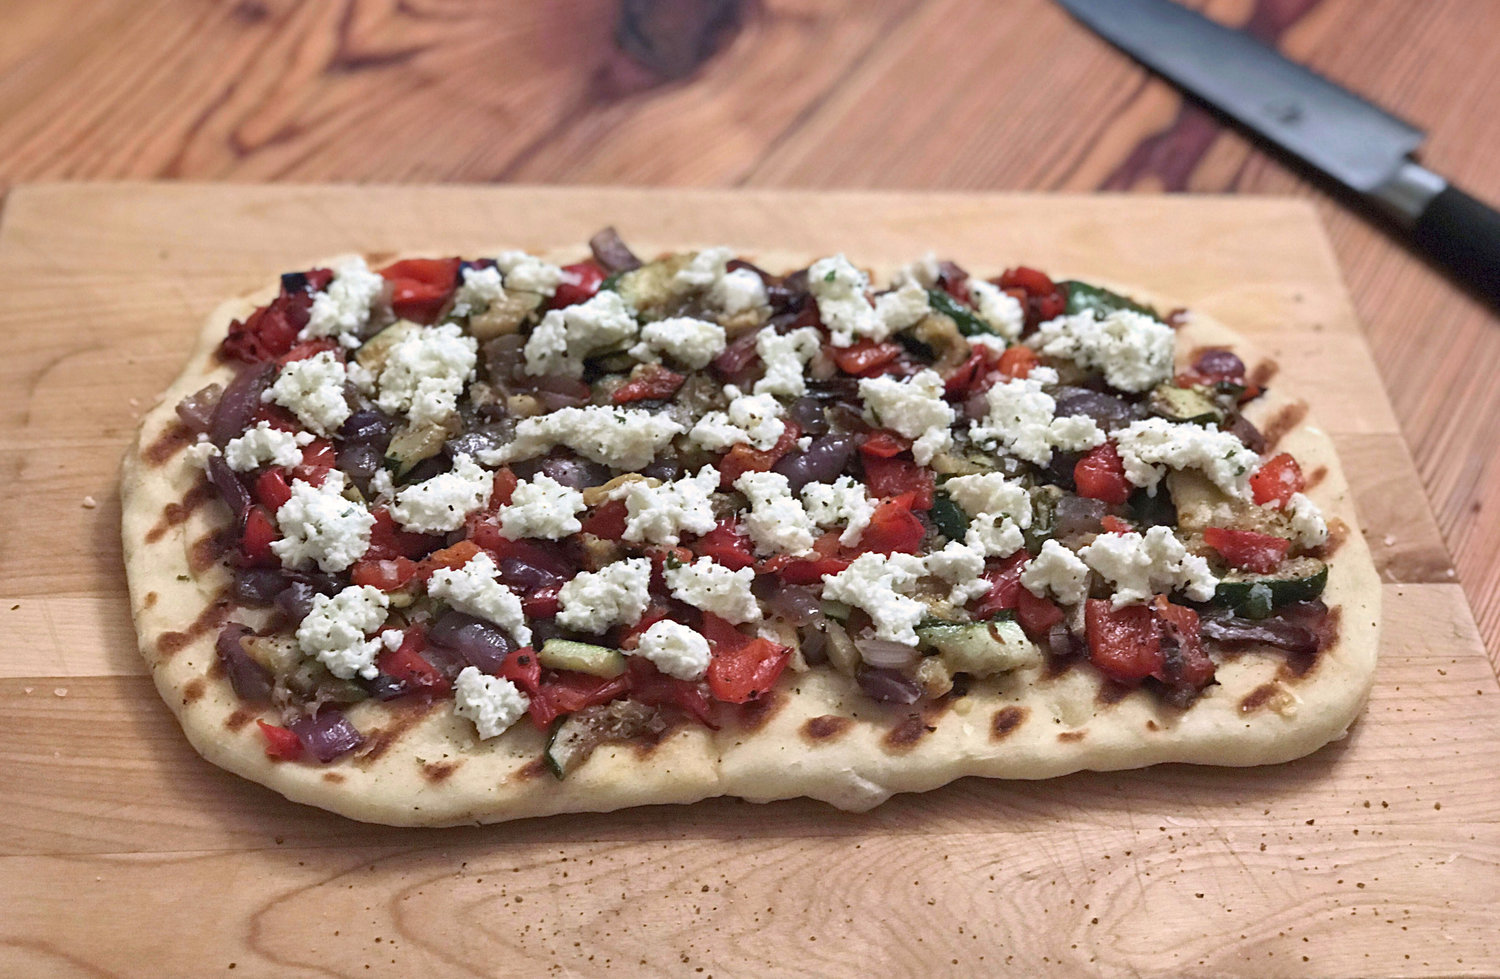
They have now become an aromatic and flavorful condiment that you can add to sandwiches and omelets and pizza and burgers and grilled cheese and bruschetta and bagels and meatloaf and focaccia and frittatas and scrambled eggs and potatoes and salads and gratins and casseroles. And crostini…

We are so crostini crushing on these right now. I just mixed together a couple ounces of fresh goat cheese with some olive oil, herbs de provence, crushed red pepper and a little kosher salt. Top your grilled or toasted baguette slices with the goat cheese and then some of your caramelized onions and this alone will be reason enough to never let your jar in the fridge get empty. Here's the recipe...
Caramelized Onions
Click here for a printable recipe
Recipe courtesy Serious Eats
This method really did turn out the best caramelized onions I’ve ever made. The secret is sweating the onions, covered, before you begin to caramelize them. All you’ll need is a good pair of tongs and just a little patience and you will be richly rewarded.
Total prep and cooking time: about 45 minutes
Note: 6 cups of sliced onions will yield 1 cup of caramelized onions
1 tablespoon unsalted butter
1 tablespoon extra-virgin olive oil
4-6 cups of sliced yellow onions (about 3 or 4 large onions)
2 teaspoons sugar
½ teaspoon each Kosher salt and freshly ground black pepper
Heat butter and olive oil in a large skillet over low heat until butter is melted. Add onions.
Cover and cook, stirring periodically, until soft and translucent, about 15 minutes. Remove cover and add sugar and season with salt and pepper.
Raise heat to medium-high and cook, stirring often with tongs and adding water, 1 tablespoon at a time if onions begin to burn, until onions take on a deep brown color, about 20 minutes.
Note: I've only ever had to add a few teaspoons of water to the pan. If your onions seem to be burning, just turn the heat down a bit.
Store in a tightly covered container in the refrigerator for up to a month.


