Closing in on Hard-boiled Perfection
/
There have been many lessons to be learned from my experience with Mom over the last couple of months, and I hope to maybe talk about some of those at some point. But not all of those lessons had to do with grief, death and coping with loss. No, one of those lessons had to do with a major breakthrough in the cooking and peeling of the perfect hardboiled egg. Hallelujah!
As strange as that may sound, I have boiled and peeled enough eggs over the past few weeks to now consider myself something of an expert on the subject. And with Easter on the horizon, I thought I’d share some of my new-found knowledge with you in case you might be gearing up for a little egg boiling, dying, hiding, peeling and eating this weekend.
Early on in Mom’s hospital stay, I decided that eating hospital cafeteria food wasn’t going to cut it for me, even though they did have a killer salad bar. No, I was going to have to bring my own food to get me through the day, and sometimes that meant food for Dad too. And for convenience and nutrition, you really can’t beat a hardboiled egg, right? Fortunately, Dad and I love them, so along with fruit and maybe some crackers or other healthy bits of things, hardboiled eggs became a mainstay of our hospital meals (that and tuna sandwiches).
And while we’re big fans of the hardboiled egg, they’re actually not all that convenient if it takes 20 minutes to peel them, resulting in a pitted, gouged and mangled egg next to a pile of teeny, tiny shards of egg shell. You all know what I’m talking about, right? Well, what if I told you that the problem of unpeelable hardboiled eggs has been at long last solved and you no longer have to worry about that unsightly gray ring around the yolk either. Oh, happy day, it’s true!
I wish I could take credit for this momentous discovery, but no, that would be bad form. All credit goes to the good folks at Serious Eats who did the pertinent scientific research and came up with this life-changing discovery, and here’s how it goes..
You know how we’ve always been taught to start the hard boiling process by placing our eggs in a pan of cold water and then bringing that water to a boil? Well, as it turns out, that was all wrong. Wrong, I tell you!! The truth is, if you want an egg that peels like a dream, you must submerge it cold from the fridge into a pot of already boiling water.
And no, the eggs will not crack if placed gently into the water.
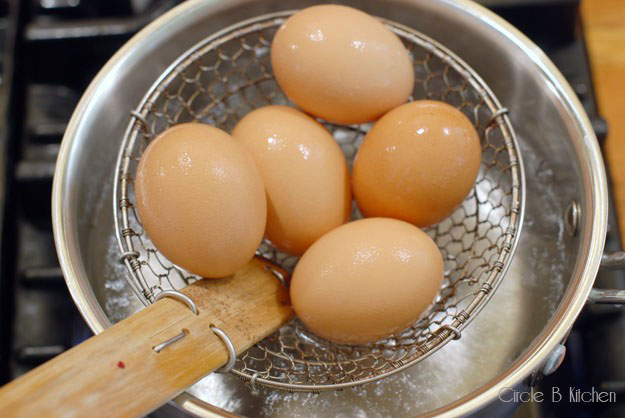
The pan is then covered and the eggs are simmered for exactly 11 minutes for a large egg

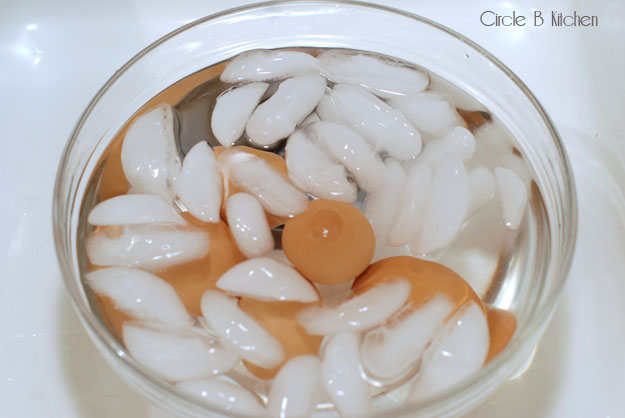
and then plunged into ice water for 30 minutes or so.
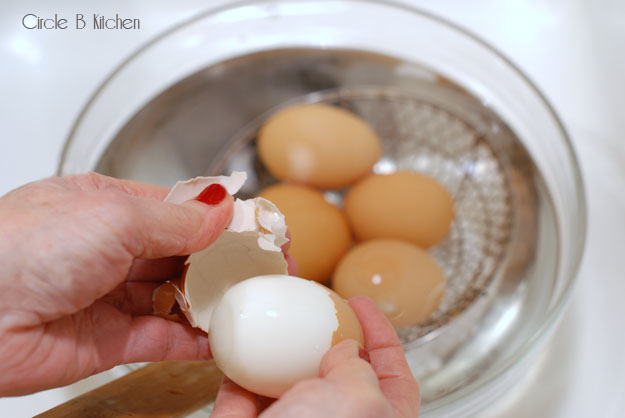
It may sound a bit violent, but these extreme temperature changes are what break down the membrane covering the egg white, which, if left intact, makes it nearly impossible to peel your egg. I think this is very cool and am awfully grateful that someone (thank you, Kenji) took the time to figure this out.
And if you’ve been reading this blog for very long, you’ll remember a post I did back here in which I touted the wondrous benefits of baking your eggs instead of boiling them to achieve a nicely cooked, easy-to-peel egg. And even though I’ve modified my stance just a bit on that, I am still on board with this method and here’s why…
I understand now that placing an egg in a preheated oven does just about the same thing as plunging one into a pan of boiling water. The extreme temperature change is at work in both methods. But if you’re after a beautiful hard-cooked egg for say, deviled eggs, I’d go with the boiling water method. These eggs come out so perfectly lovely. But if you need to cook up a bunch of eggs for egg salad or potato salad or a similar recipe in which the eggs are going to be chopped, I’d go with baking them.
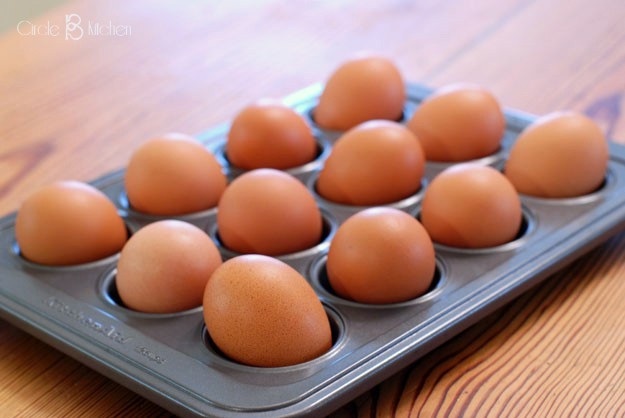
Baking large batches of eggs in the oven is a breeze. Just stick em in and let em go. After about 25 minutes, you just take em out and plunge them into the ice bath and you’re done. You can place them directly onto the oven rack or in a muffin tin, but where they touch the metal surface, there will be a small brown blemish. Also eggs baked in the oven tend to have rather odd shapes as they do not move during the baking process and the egg sort of settles in the shell at weird angles.
Conversely, while the boiling method turns out a nice-looking egg, it takes just a wee bit more babysitting. Nothing too terrible, mind you, but you have to keep an eye on that water so that it stays at a nice, well-behaved simmer for the cooking time. Once you get it there, you just have to check on it now and then to be sure it hasn’t gone from gentle simmer to raging tantrum while your back was turned.
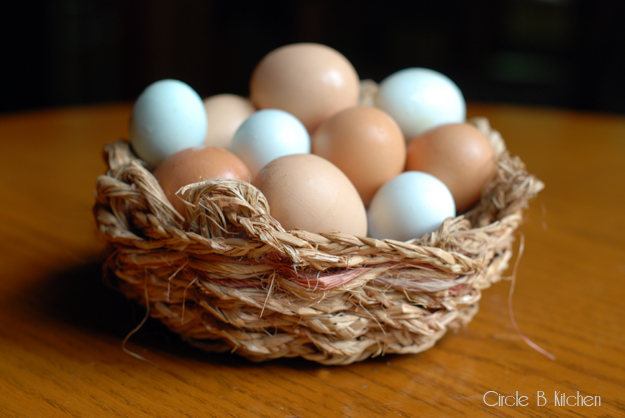
Now, here’s what makes me ever so doubly excited about all of this. In spite of having 7 chickens out in the coop, I’ve always had to buy eggs for hard boiling because a fresh egg from the coop just will not peel properly. I’ve never had any luck with it anyway. Not until now, that is. I’ve been hard boiling eggs from the coop by the dozens with this new method, and I’m happy to report that they’re as easy to peel as older, store-bought eggs which saves me money, which makes me happy and want to cook up even more eggs.
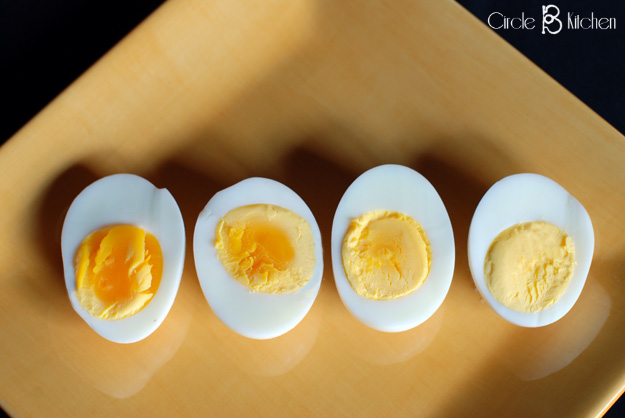
As to the photo way up top there, I pulled the eggs out of the simmering water at different times, starting at 9 minutes. So the first egg was simmered for 9 minutes, the second one for 10 minutes and so on. That last egg was cooked for 12 minutes, so you can decide how long to cook them depending on your preferences. A soft-boiled egg will take 6 minutes.
So there you go, people! Boil up as many eggs as you can this weekend. Peeling just got a whole lot easier. Here’s the recipe…
Perfect Hard-Boiled Eggs
Click here for a printable recipe
3 quarts water
1 to 6 large eggs
Bring water to a boil in a large pot. Carefully lower eggs into pot and continue to boil for 30 seconds. Cover tightly, reduce heat to low (water should maintain a bare simmer), and continue cooking for 11 minutes. Serve immediately if serving hot. If serving cold, immediately place eggs in a bowl of ice water and allow to cool for at least 15 minutes before peeling under cool running water. Store in the refrigerator for up to 5 days.