A Baguette of Your Own (In Only 4 Hours!)
/
Lest you’ve already decided that you have no time for such folly – let me just say that this is most definitely 4 hours well spent, especially if you've ever thought (fantasized) about turning out bakery-quality baguettes from your own home oven. And let me tell you, I was once as skeptical as you most likely are at the moment. But this is actually a really great baguette and you heard me right… 4 hours start to finish, and several of those hours require absolutely nothing from you. This discovery has been a total game-changer here at the Circle B Kitchen where just about every baguette-type of bread I make takes at least 2 days. My sourdough takes 3 days. So 4 hours - phhhttt! That's nothin' in the world of bread-making.
So you can imagine my glee (really happy emoji with the big teeth) when I saw this recipe on the Food 52 website. They got it from a Saveur magazine article on American bread making featuring Dan Leader, the inventor of this incredible loaf. The point is, one of the most highly respected bread makers in the country has devised this fool-proof method for turning out a no-fuss baguette at home, and I for one think we ought to take him up on it. You in?
Right before Mom went into the hospital, I was making these baguettes on a fairly regular basis. But then, of course, life happened and I’m just now getting back into the kitchen and I’m happy to report that the freezer is once again supplied with a good stock of baguettes at the ready. Homemade bread in the freezer is a very good indicator that things in the Circle B Kitchen are sort of approaching normal.

So when I say 4 hours, I’m not even kidding. This is about as quick and simple as baguette making gets. There’s no fancy folding of the dough to create the perfect baguette shape, no tricky kneading steps, no fussy stuff at all really. Yes, there will be kneading, but if you have a dough hook on your mixer, this is a non-issue. If you don’t, then you’re facing 10 minutes of kneading, which is isn’t such a big deal. C’mon… it’s just 10 minutes.

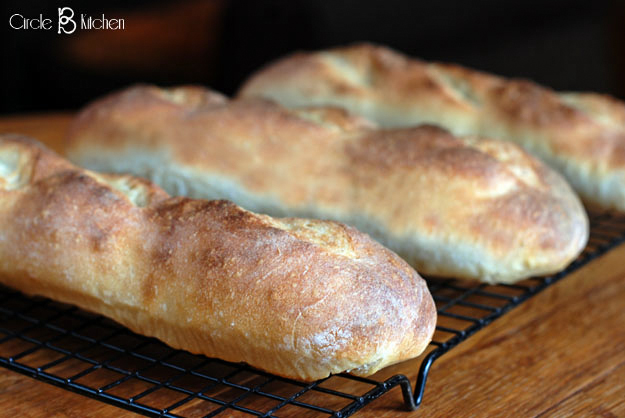
Beyond that, this bread practically makes itself. OK, that’s not really true, but I’m trying really really hard to make a point here, people – you can do this! We can do this! Bakery baguettes! Fresh from your own oven! The beautiful aromas of fresh bread permeating your home; soft butter melting on a still-warm slice of fresh bread, and you made it! I think you'll be hooked too. Here’s the recipe with some step by step process photos…
4-Hour Baguette
Click here for a printable recipe without photos
Recipe adapted from Saveur Magazine via Food52
This is a super easy recipe that turns out an incredibly great baguette. I've given you the recipe here as it was originally published in 2012, but there are a few little things that might make it even easier for you. Although the recipe asks you to mix and knead this by hand, if you have a standing mixer and dough hook, this works equally well for that. And might I suggest that you NOT use your cast iron skillet for the ice cubes in step 5. This will de-season (un-season?) your skillet and leave an unsightly stain on the bottom. I use one of those store-bought foil cake pans and it works great. ALSO Mr. Leader suggests that if you don't have a baking stone, you can turn a large baking sheet upside down on your rack and use that instead. I use my baking stone, but for this post I used the baking sheet method and it worked great. So no worries if you don't have a baking stone! Any other changes I made are noted in the recipe itself. Have fun!
Oh, one more thing... some small apartment ovens don't have a top heating element. If this is the case with yours, place your baking rack near the top of the oven which will give your bread the best chance to brown nicely. And make sure you give your oven at least 30 miinutes to get up to temperature (45 minutes is even better, especially if you're also heating up a baking stone).
Ingredients:
1 1/4 cups (10 oz.) tap water, heated to 115°
1 tsp. (⅛ oz.) active dry yeast
3 ¼ cups (14 ⅔ oz.) all–purpose flour
3 tsp. kosher salt
Canola oil, for greasing bowl (I use nonstick cooking spray)
½ cup ice cubes
INSTRUCTIONS
1. Whisk together water and yeast in a large bowl; let sit until yeast is foamy, about 10 minutes. The recipe describes this as "foamy", but here's what it mostly looks like...

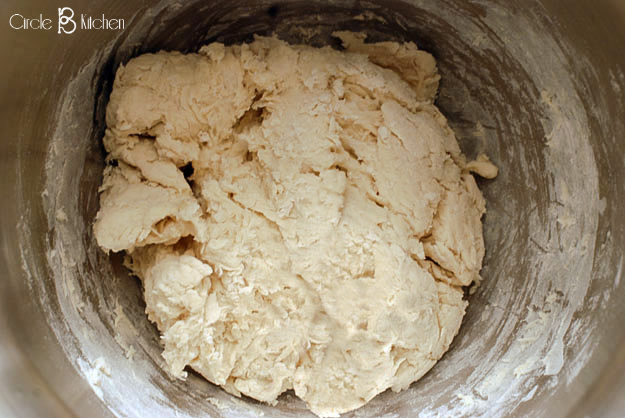
Add the flour and stir with a fork until the dough forms and all of the flour is absorbed; let the dough sit to allow the flour to hyrdate, about 20 minutes. It will sort of look like a shaggy mess...
Add salt and transfer dough to a lightly floured work surface, and knead until smooth and elastic, about 10 minutes (or use your mixer/dough hook).
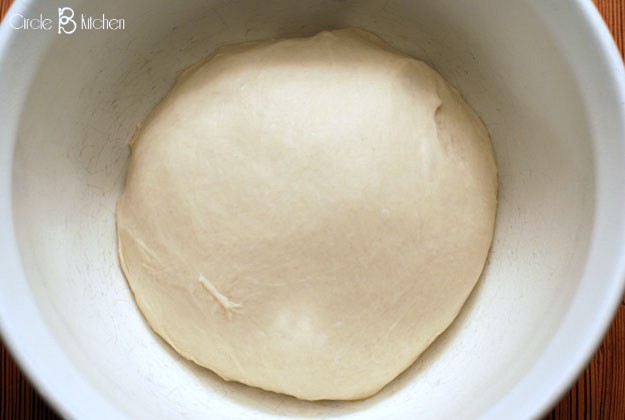
Transfer dough ball to a lightly greased bowl; cover bowl with plastic wrap, and place bowl in a cold oven or draft-free place. Let dough rest until doubled in size, about 45 minutes.
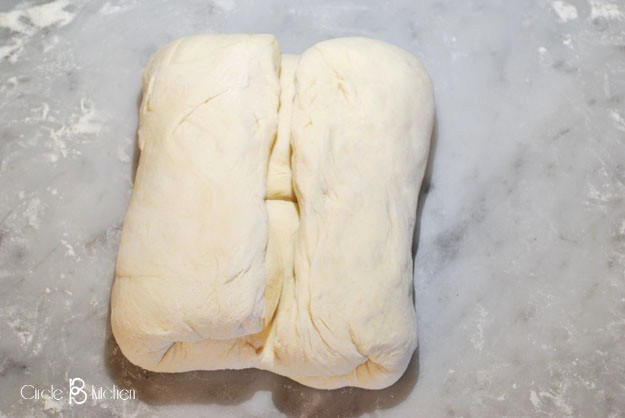
2. Transfer dough to a lightly floured work surface, and shape into an 8″ x 6″ rectangle. Fold the 8″ sides toward the middle, then fold the shorter sides toward the center.
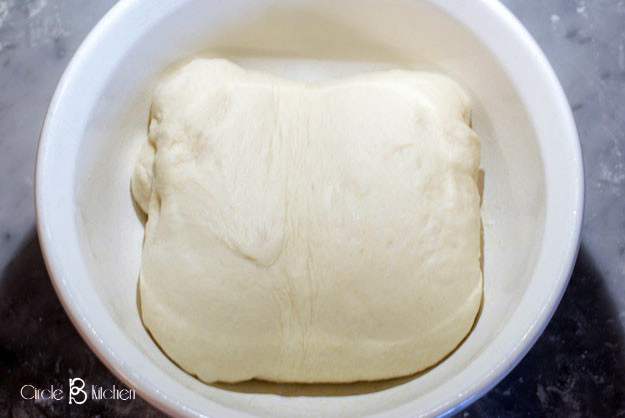
Return dough, seam side down, to bowl. Cover with plastic again, and return to oven; let sit until doubled in size, about 1 hour.
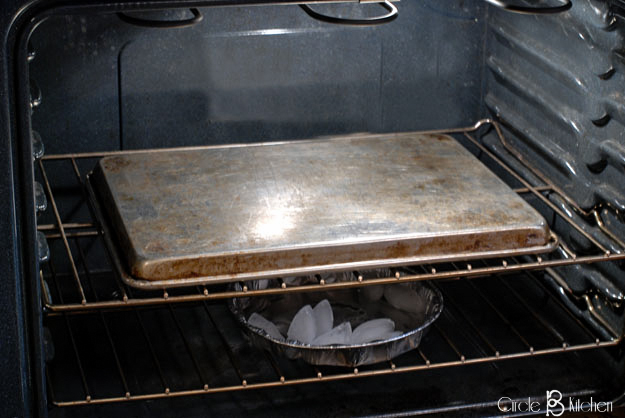
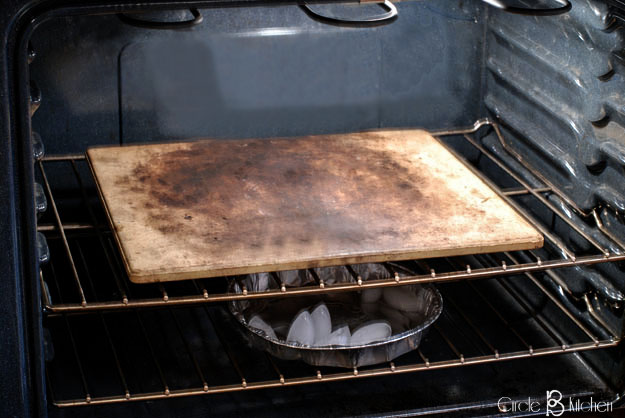
3. Remove bowl with dough from oven, and place a cast–iron skillet (I use a foil baking pan) on the bottom rack of oven; position another rack above skillet, and place a baking stone or upside-down sheet pan on it. (But pretend you don't see the ice cubes down there;they don't go in yet).
OR
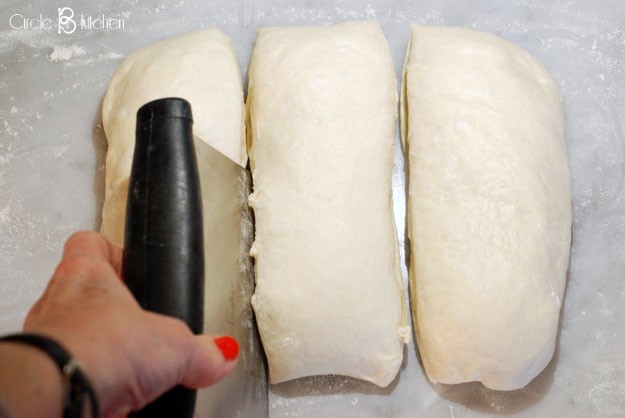
4. Heat oven to 475°. Transfer dough to a lightly floured work surface, and cut into three equal pieces;
and shape each piece into a 14″ rope (I like to make mine a little shorter and fatter). Flour a sheet of parchment paper on a rimless baking sheet; place ropes, evenly spaced, on paper. Lift paper between ropes to form pleats;
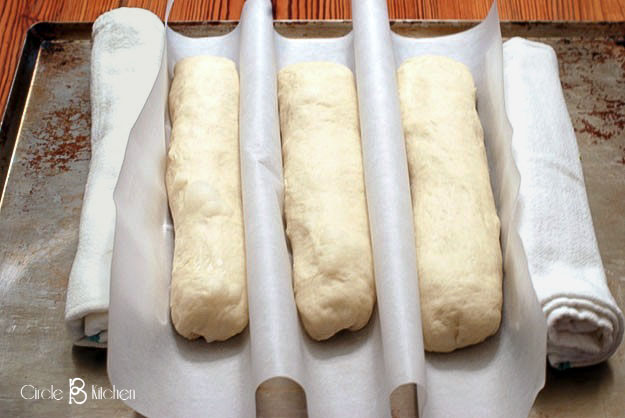
place two tightly rolled kitchen towels under long edges of paper, creating supports for the loaves. Cover loosely with plastic wrap; let sit until it doubles in size, about 50 minutes.
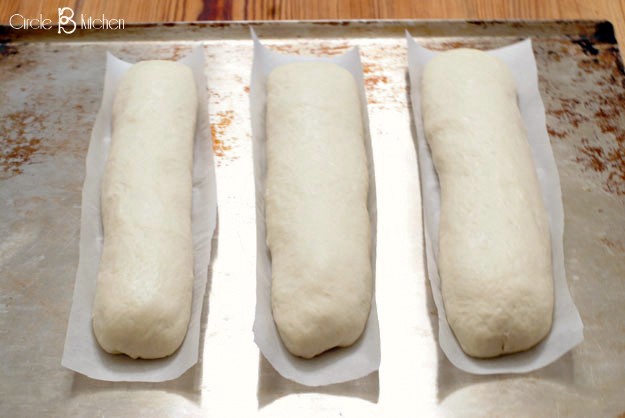
5. Uncover; remove towels, and flatten paper to space out loaves. (I cut around each loaf so they can be put into the oven separately instead of on one sheet).
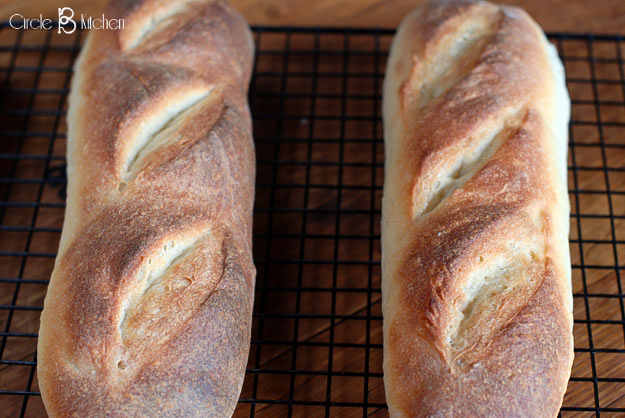
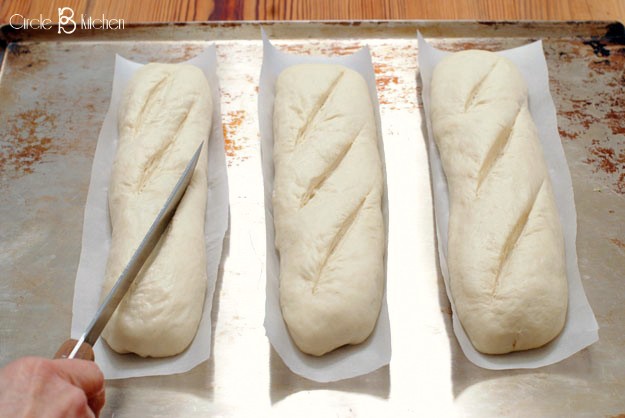
Using a sharp razor or paring knife, slash the top of each baguette at a 30–degree angle in four spots (I only do 3), each slash should be about 4″ long.
Using the corner of the parchment paper as a guide, slide the loaves, still on the parchment paper, onto the baking stone or baking pan.
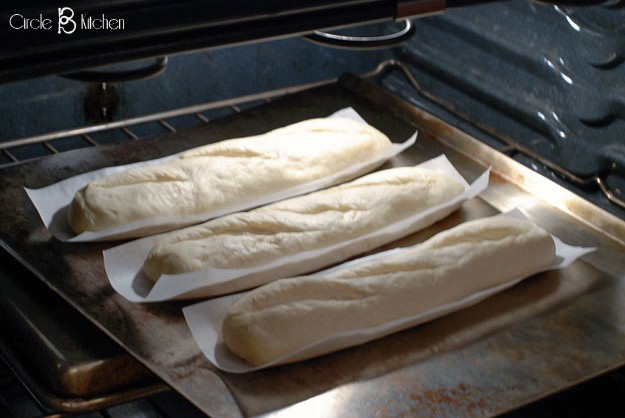
Place ice cubes in skillet (this produces steam that lets the loaves rise fully before a crust forms). (I put the ice cubes in the oven before I put the loaves in which gives them time to make a little steam before baking).
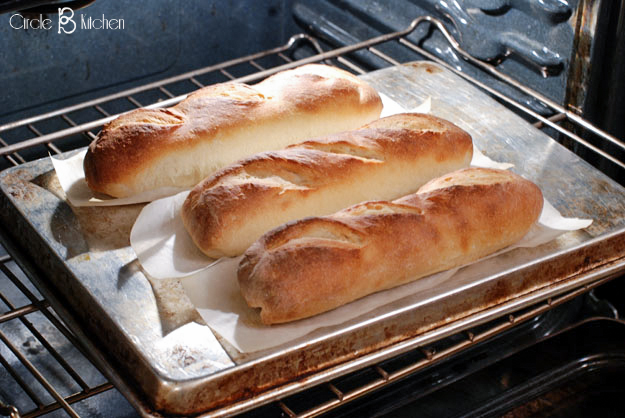
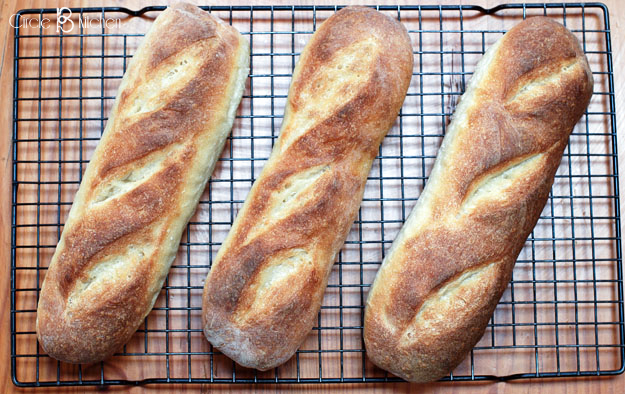
Bake the baguettes until darkly browned and crisp, about 20-30 minutes; cool before slicing.